Apple-Smoked Beef Jerky
Published by Shannon Grendahl
The quick answer
- Smoker Temp
- 180°F
- Wood
- Mesquite
- Est. Cook Time
- 4 hr
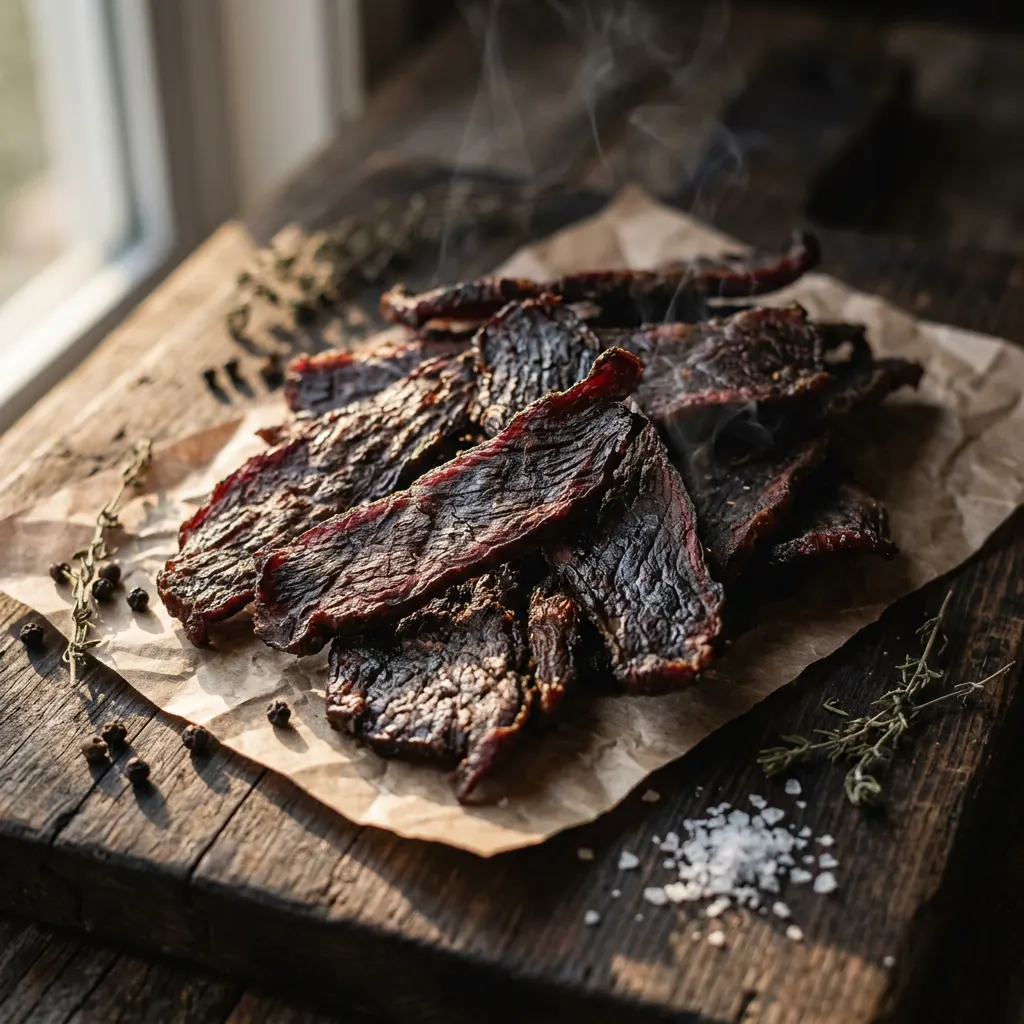
Eye-of-round sliced thin, 24hr marinade, 4hr at 180°F.
Cook Mode
One step at a time, big text, timers, and your screen stays awake. 0/9 steps done.
Ingredients
Tap to tick off · 0/17 gathered
Method
- 30 min
Partially freeze the eye-of-round for about 1-2 hours to make it easier to slice. Using a sharp knife or meat slicer, slice the beef against the grain into 1/8 to 1/4 inch thick strips. Trim any excess fat.
Why it matters
Slicing against the grain breaks up muscle fibers, resulting in more tender jerky. Trimming fat prevents rancidity during storage.
Common mistake
Slicing with the grain, which creates tougher jerky that's harder to chew.
- 5 min
In a large bowl, whisk together the soy sauce, Worcestershire sauce, brown sugar, black pepper, garlic powder, onion powder, smoked paprika, and red pepper flakes until the sugar is dissolved.
Why it matters
Thoroughly mixing the marinade ensures all flavors are evenly distributed throughout the beef.
Common mistake
Not fully dissolving the sugar can lead to uneven sweetness and flavor in the final product.
- 24h
Add the sliced beef to the marinade, ensuring all pieces are fully coated. Cover the bowl and refrigerate for 24 hours.
Why it matters
A full 24-hour marination allows the flavors to deeply penetrate the beef and tenderize it, leading to a richer, more complex jerky.
Common mistake
Shortening the marination time will result in less flavorful jerky.
- 4h
After marinating, remove the beef strips from the marinade and pat them thoroughly dry with paper towels. Arrange the strips in a single layer on wire racks, making sure they don't touch. Place the racks back in the refrigerator, uncovered, for 2-4 hours, or until the surface of the meat feels tacky.
Why it matters
Forming a pellicle (a sticky, dry surface) helps smoke adhere better to the meat and prevents a 'case hardening' effect, allowing the jerky to dry more evenly.
Common mistake
Skipping the pellicle step, leading to less smoky flavor and unevenly dried jerky.
- 180°F30 min
Preheat your pellet grill or smoker to 180°F (82°C). Load your smoker with mesquite wood pellets or chips. Ensure your smoker has reached and is stable at the target temperature before placing the meat inside.
Why it matters
Maintaining a low, consistent temperature is crucial for dehydrating without cooking the jerky too quickly, preserving its chewiness. Mesquite provides a strong, traditional smoke flavor.
Common mistake
Not preheating properly, causing temperature fluctuations and uneven cooking.
- 180°F4h
Load strips on racks with space for airflow. Smoke at 180°F for approximately 3.5–4 hours, until firm and pliable with no visible moisture in the torn center.
Why it matters
The low and slow smoking process dehydrates the meat while infusing it with deep smoky flavor and maintaining a safe internal temperature.
Common mistake
Overcooking leads to brittle, crumbly jerky; undercooking leaves it too moist and prone to spoilage.
- 1h
Once the jerky reaches the desired texture, remove it from the smoker. Let it cool completely on a wire rack at room temperature for at least 1 hour. During this time, carryover drying will occur and the texture will firm up slightly.
Why it matters
Cooling allows the jerky to fully set its texture and release any residual moisture, preventing condensation and potential mold growth when stored.
Common mistake
Packaging jerky while still warm, which can trap moisture and lead to spoilage.
- 12h
After cooling, condition the jerky in an airtight container in the refrigerator for 12–24 hours to equalize moisture.
Why it matters
Conditioning improves the overall texture and consistency of the jerky, making it more enjoyable to eat and helping with preservation.
Common mistake
Skipping conditioning can result in some pieces being too dry while others are still a bit moist, impacting shelf life and quality.
Store the finished jerky in an airtight container or resealable bag at room temperature for up to 1-2 weeks. For longer storage, refrigerate for up to 1 month or freeze for several months.
Why it matters
Proper storage ensures the longevity and safety of your homemade jerky, protecting it from moisture and contaminants.
Common mistake
Improper storage, such as in a non-airtight container, which dramatically reduces shelf life.
Sauce It
Smoking this for the weekend? Send this recipe to your crew.
Free 12-Page Guide
The Pitmaster Field Manual
Five core habits, meat and wood reference charts, rub formulas, and a printable cook log. Download the free manual and join the Guild email list for new recipes and techniques.
Cooks & Reviews
Guild members can rate this recipe, log their cooks and share photos.
Sign in to continueMember reviews
No reviews yet — be the first to rate this cook.
Ask the Pitmaster about this recipe
Substitutions, scaling, technique, troubleshooting — get answers grounded in this cook.
Sign in to try the AI Pitmaster on Apple-Smoked Beef Jerky. New members get 3 free questions.
Sign in to tryComments(0)
Loading comments…