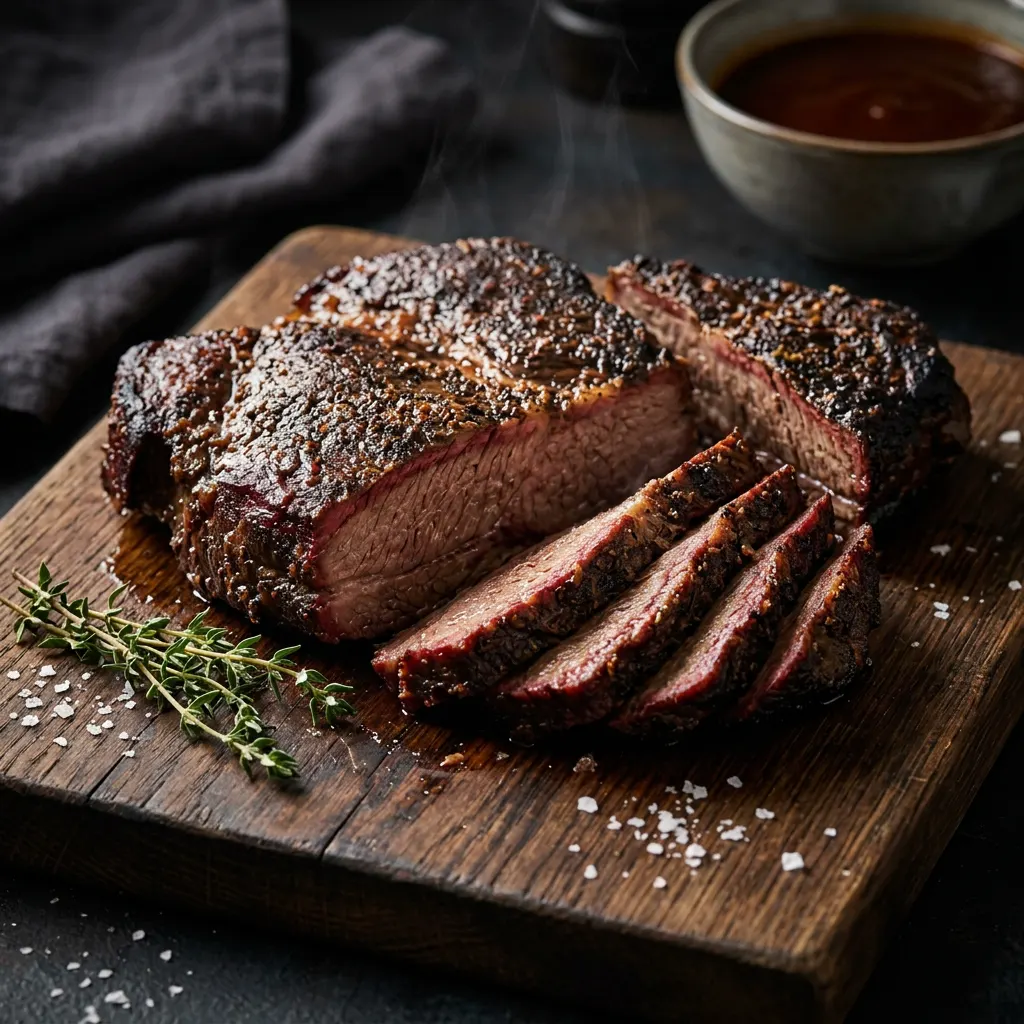
Apple-Smoked Chuck Roast Poor-Man's Brisket
$15 chuck smoked and braised tastes like a $80 brisket.
Cook Mode
One step at a time, big text, timers, and your screen stays awake. 0/7 steps done.
Ingredients
Tap to tick off · 0/10 gathered
Method
- 15 min
Pat the chuck roast dry with paper towels. Trim any excessively thick or loose pieces of fat, but leave a thin layer for moisture. Mix salt, pepper, garlic powder, and onion powder to create your rub. Apply the rub generously and evenly over all surfaces of the chuck roast, pressing gently to adhere.
Why it matters
Drying the meat ensures a better bark formation, and a good trim removes tough fat while leaving enough for flavor and moisture. A liberal, even rub application is key for developing flavor throughout the cook.
Common mistake
Not drying the meat, leading to a steamed exterior instead of bark. Not applying enough rub, resulting in bland spots.
- 250°F20 min
Load your smoker with Oak wood. Preheat your smoker or pellet grill to a stable 250°F (121°C). Ensure the temperature is consistent before placing the meat inside.
Why it matters
Stable temperature is crucial for even cooking and proper smoke penetration. Oak wood provides a robust, classic beef smoke flavor that complements chuck roast well.
Common mistake
Placing meat in a cold smoker or before it reaches target temperature, leading to under-smoked meat and longer cook times.
- 250°F3h
Place the seasoned chuck roast directly on the smoker grates. Insert a probe thermometer into the thickest part of the meat, avoiding bone or large fat pockets. Close the lid and smoke until the internal temperature reaches 165°F (74°C) to 175°F (79°C) and a deep mahogany bark has formed.
Why it matters
This phase is all about smoke penetration and bark development. The lower temperature allows the meat to absorb more smoke flavor before the braising phase.
Common mistake
Opening the smoker lid too often, which causes temperature fluctuations and extends cooking time. Not letting the bark set before wrapping.
- 250°F2h 30m
Once the chuck roast hits the target internal temperature, carefully transfer it to an aluminum foil pan. Pour in the beef broth and Worcestershire sauce. Cover the pan tightly with heavy-duty aluminum foil, sealing it well to prevent steam from escaping. Return the pan to the smoker.
Why it matters
This is where the magic happens! Braising in liquid breaks down tough connective tissues (collagen) into gelatin, making the chuck roast incredibly tender and juicy, mimicking brisket's texture. The tight seal creates a steamy environment.
Common mistake
Not sealing the foil pan tightly, allowing moisture to escape and drying out the meat. Not adding enough liquid for the braising process.
- 250°F
Continue cooking in the braising liquid until the internal temperature reaches 200°F (93°C) to 205°F (96°C) and the probe thermometer slides into the meat with very little resistance, like 'butter'. This usually takes an additional 2-3 hours after wrapping.
Why it matters
The 'probe tender' test is the ultimate indicator of doneness for connective tissue breakdown, more important than just reaching a specific temperature. This ensures maximum tenderness.
Common mistake
Cooking to a fixed temperature without checking for tenderness, leading to tough or dry meat. Not allowing enough time for collagen to fully render.
- 1h
Once probe tender, remove the chuck roast (still in its sealed foil pan) from the smoker. Let it rest on your countertop for at least 30 minutes, or ideally for 1-2 hours. You can even place the entire pan, still sealed, into an insulated cooler for an extended rest.
Why it matters
Resting allows the meat's internal temperature to stabilize and muscle fibers to relax, reabsorbing juices for a more tender and moist final product. Skipping this step results in dry, less flavorful meat.
Common mistake
Slicing into the meat immediately after removing from the smoker, causing all the accumulated juices to run out.
- 10 min
Carefully open the foil pan. Slice the chuck roast against the grain into 1/4-inch thick slices. You can use the rich braising liquid as a dipping sauce or pour it over the sliced meat. Serve immediately.
Why it matters
Slicing against the grain shortens the muscle fibers, making each bite more tender and enjoyable. The flavorful pan drippings enhance the overall experience.
Common mistake
Slicing with the grain, which makes the meat chewy despite being tender.
Sauce It
Cooks & Reviews
Guild members can rate this recipe, log their cooks and share photos.
Sign in to continueMember reviews
No reviews yet — be the first to rate this cook.
Ask the Pitmaster about this recipe
Substitutions, scaling, technique, troubleshooting — get answers grounded in this cook.
Sign in to try the AI Pitmaster on Apple-Smoked Chuck Roast Poor-Man's Brisket. New members get 3 free questions.
Sign in to tryComments(0)
Loading comments…