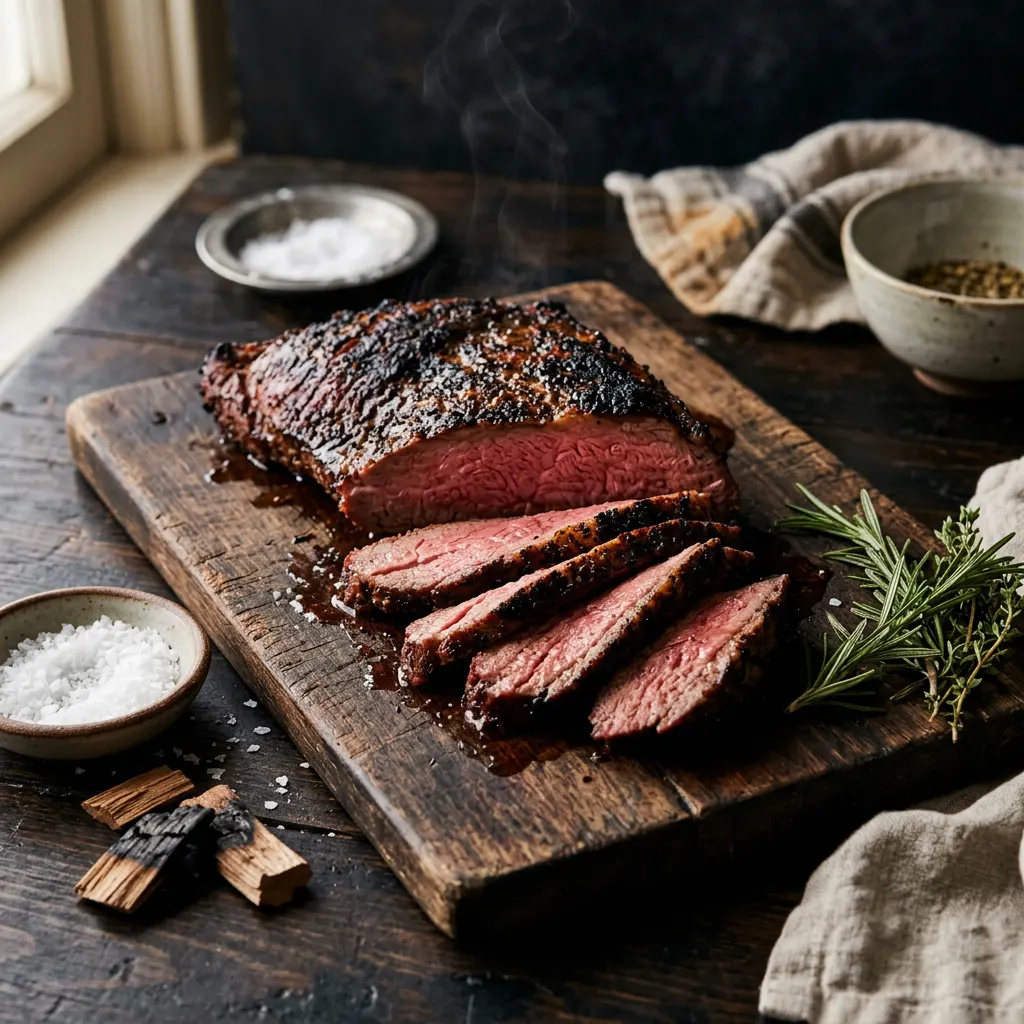
Low-and-Slow Reverse-Sear Tri-Tip
Smoke to 115°F internal, blast over coals to crust.
Cook Mode
One step at a time, big text, timers, and your screen stays awake. 0/6 steps done.
Ingredients
Tap to tick off · 0/9 gathered
Method
- 15 min
Pat the tri-tip dry with paper towels. Trim any thick pieces of silver skin or excessive fat, leaving a thin, even layer of fat (1/8-1/4 inch) if present. Mix together the coarse ground black pepper, kosher salt, and garlic powder. Generously apply the rub to all surfaces of the tri-tip, pressing it in gently.
Why it matters
Removing silver skin prevents toughness, and a dry surface helps the rub adhere and promotes a better crust. Generous seasoning builds the flavor foundation.
Common mistake
Not drying the meat properly, which can hinder rub adhesion and crust formation. Also, neglecting to trim silver skin leads to a chewy texture.
- 225°F20 min
Set your smoker or pellet grill to 225°F (107°C) and allow it to preheat fully. Add your oak wood chunks or pellets to establish clean smoke.
Why it matters
Preheating ensures a stable smoking temperature and clean smoke output, which is crucial for even cooking and good flavor without acrid notes.
Common mistake
Putting the meat on before the smoker reaches temperature and is producing clean, thin blue smoke, leading to 'dirty' smoke flavor.
- 115°F1h
Place the seasoned tri-tip directly on the grates of your preheated smoker. Insert a reliable probe thermometer into the thickest part of the meat, avoiding any large pockets of fat or bone. Close the lid and smoke until the internal temperature reaches 115°F (46°C).
Why it matters
Smoking at a low temperature slowly brings the meat to an even internal temperature, allows for maximum smoke penetration, and prevents overcooking during the subsequent sear.
Common mistake
Overcooking during the smoke phase. Hitting 115°F is critical for a medium-rare final product after the sear. Always trust your thermometer.
- 10 min
Once the tri-tip reaches 115°F internal, remove it from the smoker and place it on a cutting board or wire rack. Loosely tent with foil. While the tri-tip rests, prepare your searing station – either preheat a cast iron skillet over high heat or ignite a charcoal chimney/gas grill for direct high heat.
Why it matters
A short rest allows the surface moisture to equalize, which will aid in developing a fantastic crust during the sear. Preparing the searing station quickly prevents the meat from cooling too much.
Common mistake
Not allowing a brief rest or letting the meat get too cold before searing, which makes achieving a hot, fast sear difficult.
- 8 min
Add high-heat cooking oil to your cast iron skillet (or apply directly to the tri-tip if using a grill). Sear the tri-tip for 1.5 to 2 minutes per side until a deep, dark crust forms. For extra flavor, during the last minute, add butter, rosemary, and thyme to the pan and baste the meat.
Why it matters
The high heat creates the Maillard reaction, developing a flavorful, crispy crust, while the interior remains juicy and medium-rare thanks to the reverse sear method.
Common mistake
Not enough heat on the searing surface, resulting in a steamed instead of seared crust. Don't be afraid of high heat for this stage.
- 15 min
Remove the tri-tip from the searing surface and let it rest on a cutting board for 10-15 minutes. This is critical. Slice the tri-tip against the grain. Be aware that the grain direction can change in different sections of the tri-tip, so adjust your slicing angle as needed.
Why it matters
Resting allows the juices to redistribute throughout the meat, ensuring a tender and moist final product. Slicing against the grain shortens muscle fibers, making the meat much more tender to chew.
Common mistake
Slicing immediately after searing, which causes all the delicious juices to run out, resulting in dry meat. Also, slicing with the grain makes the meat tough.
Sauce It
Cooks & Reviews
Guild members can rate this recipe, log their cooks and share photos.
Sign in to continueMember reviews
No reviews yet — be the first to rate this cook.
Ask the Pitmaster about this recipe
Substitutions, scaling, technique, troubleshooting — get answers grounded in this cook.
Sign in to try the AI Pitmaster on Low-and-Slow Reverse-Sear Tri-Tip. New members get 3 free questions.
Sign in to tryComments(0)
Loading comments…