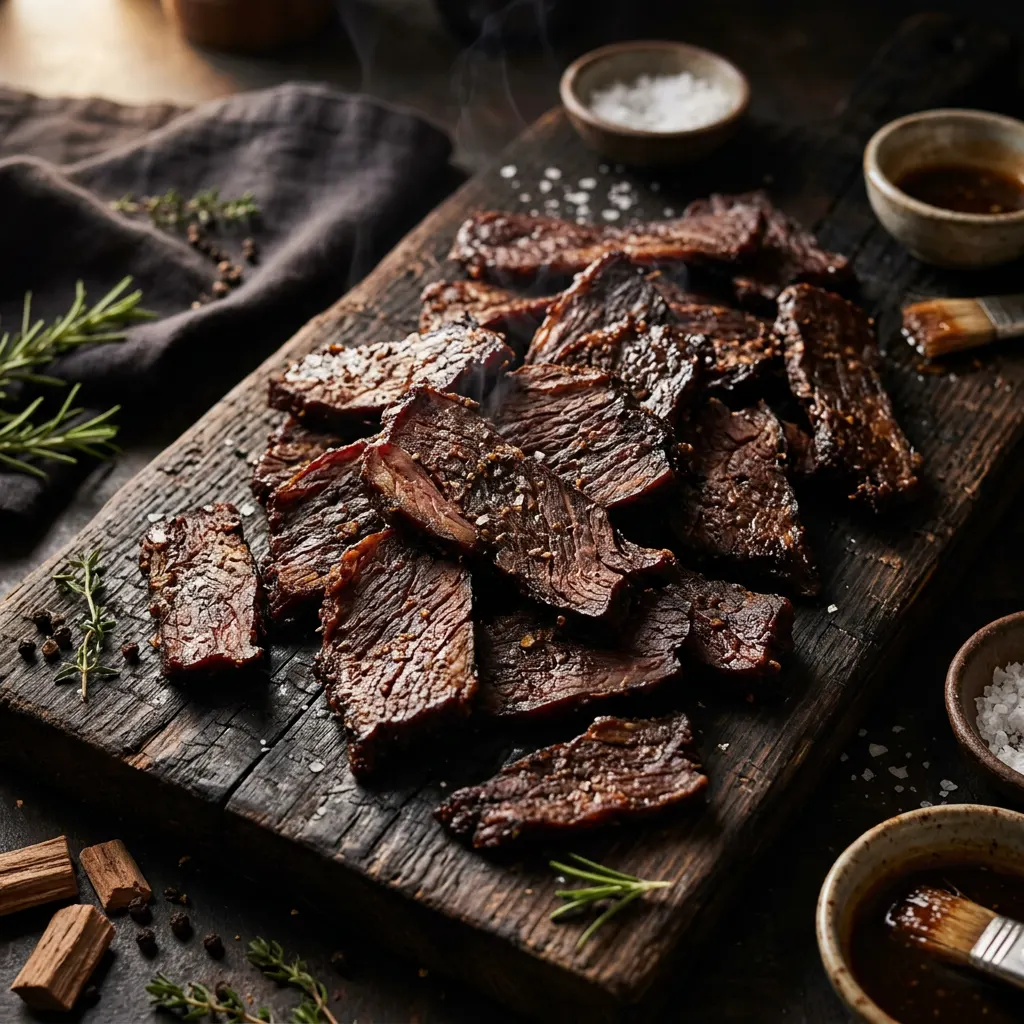
Backyard Smoked Beef Jerky
Eye-of-round sliced thin, 24hr marinade, 4hr at 180°F.
Cook Mode
One step at a time, big text, timers, and your screen stays awake. 0/18 steps done.
Ingredients
Tap to tick off · 0/23 gathered
Method
- 30 min
Partially freeze the eye of round roast for 30-60 minutes to make slicing easier. Using a sharp knife or meat slicer, slice the beef against the grain into uniform 1/8-inch thick strips. In a large bowl, whisk together soy sauce, Worcestershire sauce, brown sugar, smoked paprika, garlic powder, onion powder, black pepper, and curing salt (if using).
Why it matters
Uniform thickness ensures consistent dehydration and chewiness. Slicing against the grain makes for more tender jerky. Partially freezing stiffens the meat for cleaner cuts.
Common mistake
Slicing with the grain results in stringy, tough jerky. Uneven slices will lead to some pieces being over-dried and others still moist.
- 24h
Slice the beef eye-of-round thinly, 1/8 to 1/4 inch thick, against the grain. In a large bowl or resealable bag, combine all marinade ingredients (soy sauce, Worcestershire, brown sugar, garlic powder, onion powder, smoked paprika, black pepper, optional red pepper flakes, and Prague Powder #1). Add the sliced beef, ensuring all pieces are thoroughly coated. Seal and refrigerate.
Why it matters
Slicing against the grain makes the jerky more tender and easier to chew. The marinade infuses flavor and the curing salt (Prague Powder #1) inhibits bacterial growth during the long, low-temperature smoke, making it safe to eat.
Common mistake
Slicing with the grain will result in tough, stringy jerky that is difficult to chew.
- 20 min
Partially freeze the beef eye of round for 1-2 hours. Using a sharp knife or meat slicer, slice the beef across the grain into uniform strips, about 1/8 to 1/4 inch thick. Trim off any excess fat.
Why it matters
Consistent thickness ensures even dehydration, and slicing against the grain makes the jerky more tender and easier to chew.
Common mistake
Slicing with the grain will result in tough, stringy jerky.
- 5 min
In a large bowl, whisk together the soy sauce, Worcestershire sauce, brown sugar, black pepper, garlic powder, onion powder, smoked paprika, pink curing salt No. 1, and optional red pepper flakes until the sugar and salt are dissolved.
Why it matters
Thoroughly mixing the marinade ensures all flavors and the curing salt are evenly distributed.
Common mistake
Not dissolving the sugar and salt completely can lead to uneven flavoring and curing.
- 24h
Add the sliced beef to the marinade, ensuring all strips are fully coated. Cover the bowl and refrigerate for a minimum of 12 hours, but preferably 24 hours.
Why it matters
This extended marination time allows the flavors to deeply penetrate the meat and the salt to begin the curing process, enhancing both taste and preservation.
Common mistake
Insufficient marination results in bland jerky with less tender texture. Not covering the bowl in the fridge can lead to cross-contamination or drying out the edges.
- 4h
After 24 hours, remove the beef from the marinade. Pat each slice thoroughly dry with paper towels. Arrange the slices on wire racks without overlapping. Place the racks back into the refrigerator, uncovered.
Why it matters
Drying the surface of the meat in the refrigerator helps form a tacky 'pellicle'. This pellicle is crucial as it allows the smoke to adhere better to the meat, creating a deeper smoky flavor and more even drying.
Common mistake
Skipping the pellicle step results in less smoky flavor and a potentially longer drying time.
- 1h 30m
Remove the beef strips from the marinade, discarding any excess liquid. Pat each strip thoroughly dry with paper towels. Arrange the strips in a single layer on wire racks and allow them to air dry at room temperature for 1-2 hours, or until a shiny, slightly tacky surface (pellicle) forms.
Why it matters
The pellicle acts as a protective barrier, helps smoke adhere better, and allows for even dehydration by preventing rapid drying of the surface.
Common mistake
Skipping the pellicle step can lead to a less smoky flavor, uneven drying, and a less desirable texture in the final product.
- 180°F15 min
Preheat your pellet grill or smoker to 180°F, using Mesquite wood pellets/chips for smoke. While the smoker is preheating, arrange the beef strips on the smoker grates, ensuring there is ample space between each piece for good airflow.
Why it matters
Proper spacing allows for consistent smoke penetration and even dehydration across all jerky pieces. Maintaining a low, stable temperature is crucial for drying, not cooking, the meat.
Common mistake
Overcrowding the smoker leads to uneven cooking and can steam the jerky instead of drying and smoking it properly.
- 4h
After marinating, remove the beef strips from the marinade and pat them thoroughly dry with paper towels. Arrange the strips on wire racks without overlapping. Place the racks in a well-ventilated area or in front of a fan for 2-4 hours, or until a shiny, tacky film (pellicle) forms on the surface.
Why it matters
The pellicle is a dry, slightly sticky surface that helps smoke adhere better to the meat, resulting in a more intense smoky flavor and even cooking. It also helps prevent moisture from being trapped, which can lead to a less desirable texture.
Common mistake
Skipping this step will result in jerky with less smoky flavor and a potentially chewier, less ideal texture.
- 180°F30 min
Preheat your smoker or pellet grill to a stable 180°F (82°C). Load with mesquite wood for that classic smoky flavor.
Why it matters
Maintaining a low, consistent temperature is key to dehydrating the meat slowly without cooking it too quickly, preserving its jerky texture. Mesquite offers a strong, traditional smoke profile for beef jerky.
Common mistake
Too high a temperature will cook the meat instead of dehydrating it, resulting in a tougher, cooked beef texture rather than jerky.
- 180°F4h
Place the jerky in the preheated smoker. Smoke for approximately 3-4 hours, or until the jerky is dry and pliable but not brittle. The jerky should bend without breaking. Check periodically starting at 3 hours. The internal temperature of the jerky should reach at least 160°F for food safety, though this recipe focuses on dehydration.
Why it matters
The low temperature slowly dehydrates the meat while infusing it with smokey flavor, killing off pathogens without overcooking. The pliability test is key to achieving the desired chewy texture.
Common mistake
Smoking at too high a temperature will cook the jerky, making it tough and brittle. Opening the smoker too frequently will cause temperature fluctuations and prolong the cook time.
- 180°F
Begin checking the jerky after 2 hours, and then every 30 minutes. Jerky is done when it's dry and firm, but still pliable. When you bend a piece, it should crack but not break cleanly. There should be white fibers showing when bent and torn.
Why it matters
Properly dried jerky is essential for texture, flavor, and food safety. Under-dried jerky can spoil, while over-dried jerky becomes brittle and unpleasant to eat.
Common mistake
Removing jerky too early can lead to mold and spoilage; drying too long produces brittle, hard jerky.
- 1h
Once desired dryness is achieved, remove the jerky from the smoker. Place it on a clean wire rack at room temperature to cool completely.
Why it matters
Cooling the jerky to room temperature allows any residual moisture to equalize throughout the pieces, preventing condensation that could lead to mold and ensuring a consistent texture.
Common mistake
Storing warm jerky can lead to condensation and spoilage.
- 180°F4h
Once the smoker is at temperature, place the racks of beef strips directly on the grates, ensuring there is space between each piece for optimal airflow. Smoke for 3-5 hours, or until the jerky is dry and bendable but not brittle. The jerky should crack when bent but not break completely.
Why it matters
Slow smoking at a low temperature renders fat, imparts deep smoke flavor, and properly dehydrates the meat to the desired jerky texture. Good airflow is vital for even drying.
Common mistake
Overcooking will result in overly dry, difficult-to-chew jerky. Undercooking leaves too much moisture, reducing shelf life and posing a food safety risk.
Your homemade smoked beef jerky is now ready to enjoy. It makes a fantastic snack, perfect for hikes, road trips, or just anytime you crave a savory, smoky bite.
Why it matters
Sharing your hard work with friends and family is always the best part of BBQ!
Common mistake
Not making enough. Jerky disappears quickly once people taste it!
- 1h
Once the jerky reaches the desired texture, remove it from the smoker and let it cool completely on a wire rack at room temperature. This allows any residual moisture to evaporate and the texture to fully set.
Why it matters
Cooling properly prevents condensation, which can lead to mold, and allows the jerky to reach its final texture and flavor profile.
Common mistake
Storing warm jerky will create moisture inside the container, potentially causing spoilage.
Store cooled jerky in an airtight container or zip-top bag at room temperature for up to 1-2 weeks, or refrigerate for longer storage.
Why it matters
Proper storage maintains the jerky's freshness and prevents moisture uptake, which can lead to spoilage.
Common mistake
Storing jerky in non-airtight containers or in humid environments will reduce its shelf life considerably.
Store the finished jerky in an airtight container at room temperature for up to 2 weeks, or in the refrigerator for up to a month. For longer storage, freeze it.
Why it matters
Proper storage maintains the jerky's quality and extends its shelf life, allowing you to enjoy your homemade snack for longer.
Common mistake
Improper storage, such as in an unsealed container or humid environment, will lead to quick spoilage.
Sauce It
Cooks & Reviews
Guild members can rate this recipe, log their cooks and share photos.
Sign in to continueMember reviews
No reviews yet — be the first to rate this cook.
Ask the Pitmaster about this recipe
Substitutions, scaling, technique, troubleshooting — get answers grounded in this cook.
Sign in to try the AI Pitmaster on Backyard Smoked Beef Jerky. New members get 3 free questions.
Sign in to tryComments(0)
Loading comments…