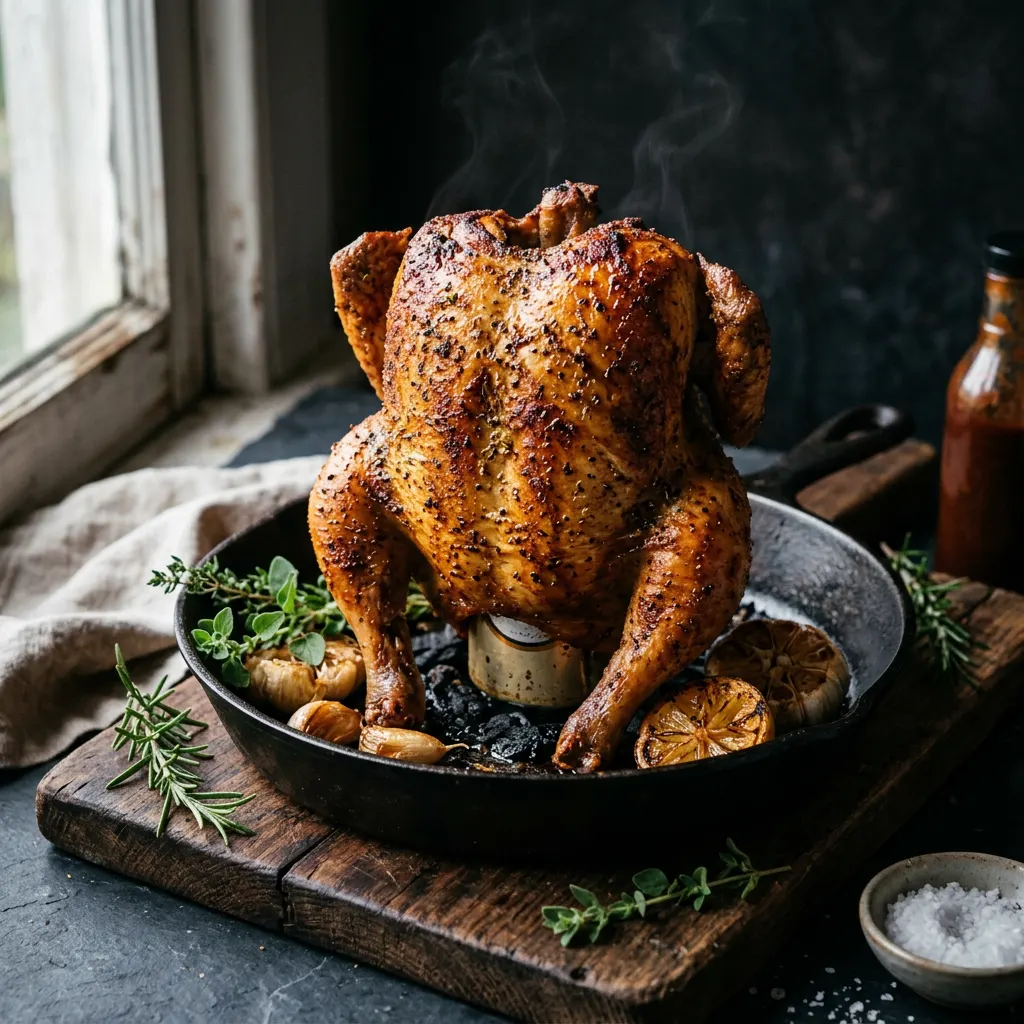
Salt-and-Pepper Beer-Can Whole Chicken
Published by Shannon Grendahl
The quick answer
- Smoker Temp
- 325°F
- Wood
- Apple
- Pull Temp
- 165°F in the thickest part
- Est. Cook Time
- 2 hr
- Wrap Stage
- No wrap — keep skin exposed
Crispy skin, juicy bird, straightforward backyard cook.
Cook Mode
One step at a time, big text, timers, and your screen stays awake. 0/9 steps done.
Ingredients
Tap to tick off · 0/12 gathered
Method
- 10 min
Remove the chicken from its packaging and pat it thoroughly dry with paper towels, both inside and out. If using the beer can method, remove giblets and neck from the cavity. If spatchcocking, use poultry shears to cut out the backbone and flatten the bird. In a small bowl, mix paprika, garlic powder, onion powder, dried thyme, kosher salt, and black pepper to create your rub.
Why it matters
A dry skin is crucial for achieving that crispy, desirable crust. Moisture is the enemy of a good sear or crisp.
Common mistake
Not drying the chicken enough, leading to rubbery skin.
- 5 min
Drizzle the chicken with olive oil and rub it all over, ensuring an even coating. Then, generously apply the prepared rub (or store-bought rub) over the entire surface of the chicken, under the skin of the breasts, and inside the cavity.
Why it matters
The oil helps the rub adhere and contributes to a beautiful, golden-brown skin. Seasoning under the skin ensures maximum flavor penetration.
Common mistake
Forgetting to season under the skin, resulting in bland breast meat.
- 325°F15 min
Preheat your smoker or pellet grill to 325°F. Add Apple wood for a mild, fruity smoke flavor. Ensure your water pan (if applicable) is full.
Why it matters
A higher temperature helps render the fat quickly, leading to crispy skin, while still providing enough time for the smoke to penetrate.
Common mistake
Starting with too low a temperature, which can make the skin rubbery.
- 2 min
Open the can of beer and pour out about 1/4 to 1/3 of the liquid (take a sip, you've earned it). You want enough liquid for steam, but not so much it overflows quickly. Use a can opener to create a few extra holes in the top of the can if desired, to encourage more steam.
Why it matters
The alcohol and liquid steam from within the chicken, helping to keep the breast meat moist while the outside cooks at a higher temperature.
Common mistake
Filling the can too full or not opening it, which can prevent proper steam generation.
- 325°F
Carefully place the chicken over the opened beer can, ensuring the legs are splayed forward to create a stable tripod. Place the chicken and beer can upright on the smoker grate.
Why it matters
The beer can helps the chicken stand upright, promoting even indirect cooking, and the steaming beer adds internal moisture and flavor.
Common mistake
Overfilling the beer can, which can cause spillover and flavor dilution, or not removing enough liquid to create steam.
- 325°F1h 30m
With the chicken positioned in the smoker, insert probes into the thickest breast and thigh, avoiding bone. Close the lid and maintain 325°F.
Why it matters
Monitoring the internal temperature is crucial for food safety and preventing overcooking, ensuring a juicy result.
Common mistake
Opening the smoker lid too frequently, which fluctuates temperature and extends cooking time.
- 325°F30 min
Continue smoking until the internal temperature in the thickest part of the breast reaches 165°F and the thickest part of the thigh reaches 175°F. The skin should be golden brown and crispy.
Why it matters
Reaching these target temperatures ensures the chicken is safe to eat while maintaining optimal juiciness in both white and dark meat.
Common mistake
Pulling the chicken too early, resulting in undercooked poultry, or too late, leading to dry meat.
- 15 min
Once cooked, carefully remove the chicken from the smoker (and remove from the beer can if using). Tent it loosely with foil and let it rest on a cutting board for 10-15 minutes.
Why it matters
Resting allows the juices to redistribute throughout the meat, preventing them from running out when you carve, ensuring a more tender and flavorful chicken.
Common mistake
Carving the chicken immediately after removing it from the smoker, which causes all the juices to escape.
- 10 min
After resting, carve the chicken into desired pieces. Serve immediately with your favorite side dishes.
Why it matters
Proper carving ensures each piece is appealing and easy to eat, maximizing the enjoyment of your perfectly cooked chicken.
Common mistake
Haphazard carving can result in uneven portions and less presentable serving.
Sauce It
Smoking this for the weekend? Send this recipe to your crew.
Free 12-Page Guide
The Pitmaster Field Manual
Five core habits, meat and wood reference charts, rub formulas, and a printable cook log. Download the free manual and join the Guild email list for new recipes and techniques.
Cooks & Reviews
Guild members can rate this recipe, log their cooks and share photos.
Sign in to continueMember reviews
No reviews yet — be the first to rate this cook.
Ask the Pitmaster about this recipe
Substitutions, scaling, technique, troubleshooting — get answers grounded in this cook.
Sign in to try the AI Pitmaster on Salt-and-Pepper Beer-Can Whole Chicken. New members get 3 free questions.
Sign in to tryComments(0)
Loading comments…