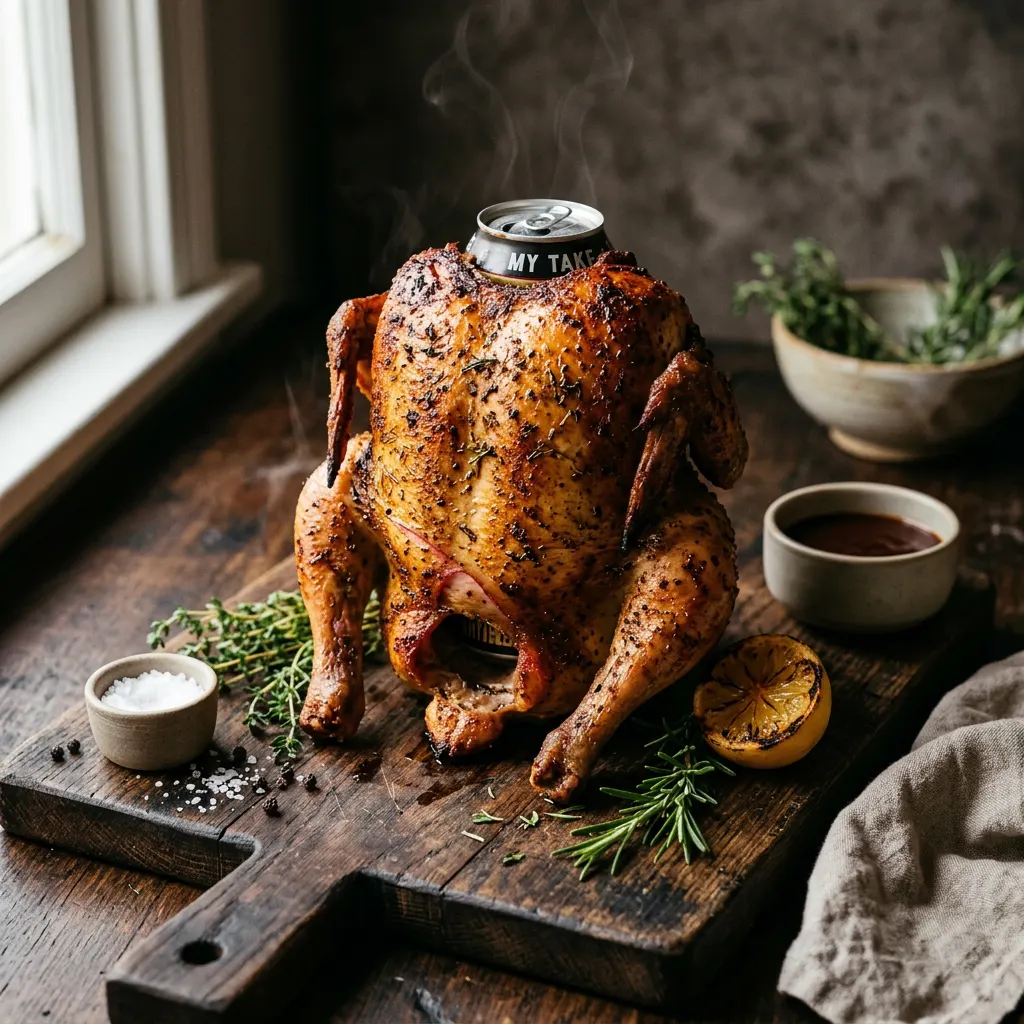
Brown-Sugar Beer-Can Whole Chicken
Crispy skin, juicy bird, straightforward backyard cook.
Cook Mode
One step at a time, big text, timers, and your screen stays awake. 0/7 steps done.
Ingredients
Tap to tick off · 0/11 gathered
Method
- 10 min
Remove the whole chicken from its packaging. Pat it thoroughly dry with paper towels, inside and out. Trim any excess fat around the cavity opening or neck flap. Mix all dry rub ingredients (smoked paprika, garlic powder, onion powder, salt, black pepper, thyme, cayenne) in a small bowl.
Why it matters
A dry surface is crucial for achieving crispy skin. Moisture on the skin will steam rather than crisp, leading to rubbery results.
Common mistake
Not fully drying the chicken, which prevents the skin from getting crispy.
- 5 min
Lightly coat the entire chicken with olive oil, acting as a binder for the rub. Then, generously apply the dry rub mixture all over the chicken, making sure to get some under the wings and legs. Don't forget to season inside the cavity as well.
Why it matters
The oil helps the rub adhere evenly, ensuring every bite is flavorful. Seasoning the cavity adds depth to the internal meat.
Common mistake
Applying too much oil, which can make the rub pasty, or not applying enough, causing the rub to fall off.
- 325°F15 min
Preheat your smoker or pellet grill to 325°F. While it heats, place the 'beer can' stand on a stable surface. Fill the stand's liquid reservoir with chicken broth (or half a can of your preferred beer if using a traditional beer can). Carefully place the seasoned chicken upright onto the stand, ensuring it's stable.
Why it matters
Preheating ensures a consistent cooking temperature from the start. The liquid in the stand steams from the inside, contributing to a moist breast and an internal 'plumping' effect.
Common mistake
Not allowing the smoker to fully come to temp before adding the meat, leading to uneven cooking.
- 325°F1h 30m
Once the smoker reaches 325°F and is producing clean smoke (apple wood is recommended for mild flavor), carefully place the chicken on its stand onto the smoker grates. Close the lid and maintain the target temperature. Insert a probe into the thickest part of the breast and another into the thickest part of the thigh, avoiding bone.
Why it matters
The consistent high heat helps render fat for crispy skin while the smoke infuses flavor. Monitoring internal temperatures is crucial for food safety and preventing overcooking.
Common mistake
Constantly opening the smoker lid, which causes temperature fluctuations and extends cooking time.
- 325°F30 min
Continue to smoke until the internal temperature reaches 165°F in the breast and 175°F in the thigh. This usually takes about 1.5 to 2 hours, depending on chicken size and smoker efficiency. The skin should be a beautiful golden-brown and crispy.
Why it matters
Different parts of the chicken cook at different rates and to different ideal temperatures. 165°F ensures safe breast meat, while 175°F in the thigh breaks down connective tissue for tender dark meat.
Common mistake
Cooking by time alone instead of internal temperature, which can lead to undercooked or dry chicken.
- 20 min
Once the target internal temperatures are reached, carefully remove the chicken on its stand from the smoker. Transfer it to a cutting board and tent loosely with aluminum foil. Let it rest for at least 15-20 minutes.
Why it matters
Resting allows the juices, which have been driven to the center during cooking, to redistribute throughout the meat. This results in a much juicier and more flavorful chicken.
Common mistake
Carving the chicken immediately after cooking, causing all the delicious juices to run out and leaving you with dry meat.
- 5 min
After resting, carefully remove the chicken from the stand. Carve the chicken into desired pieces – separate legs, thighs, wings, and slice the breast meat. Arrange on a platter and serve immediately.
Why it matters
Proper carving ensures each serving gets a good mix of meat and that the chicken is presented appealingly. Don't forget to enjoy the crispy skin!
Common mistake
Struggling with carving; a sharp knife and understanding the chicken's anatomy will make this much easier.
Sauce It
Cooks & Reviews
Guild members can rate this recipe, log their cooks and share photos.
Sign in to continueMember reviews
No reviews yet — be the first to rate this cook.
Ask the Pitmaster about this recipe
Substitutions, scaling, technique, troubleshooting — get answers grounded in this cook.
Sign in to try the AI Pitmaster on Brown-Sugar Beer-Can Whole Chicken. New members get 3 free questions.
Sign in to tryComments(0)
Loading comments…