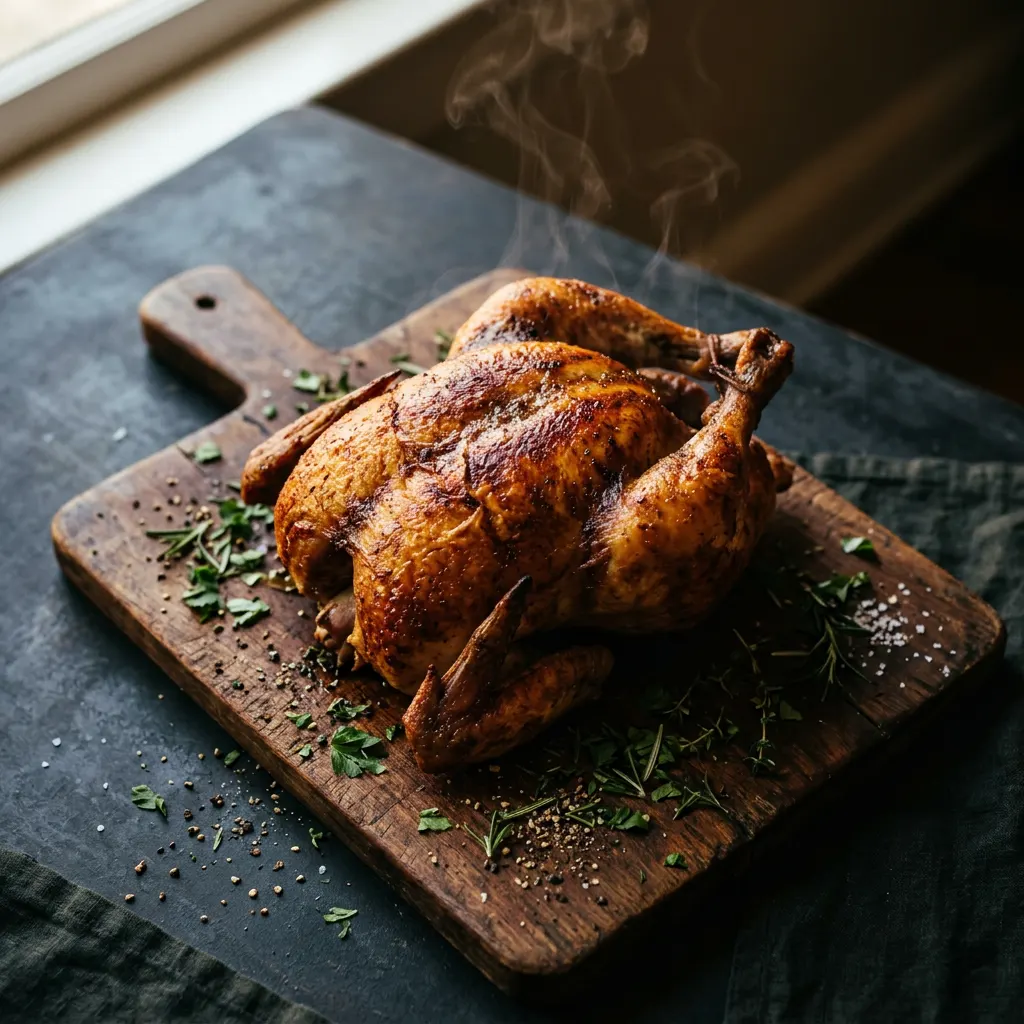
Low-and-Slow Beer-Can Whole Chicken
Crispy skin, juicy bird, straightforward backyard cook.
Cook Mode
One step at a time, big text, timers, and your screen stays awake. 0/7 steps done.
Ingredients
Tap to tick off · 0/9 gathered
Method
- 10 min
Remove the chicken from its packaging. Pat it dry thoroughly with paper towels, both inside and out. Remove any excess fat, especially around the cavity opening. You can also trim the wing tips if you prefer to prevent them from burning.
Why it matters
A dry surface is crucial for crispy skin and allows the rub to adhere better. Trimming excess fat prevents flare-ups and renders more evenly.
Common mistake
Not drying the skin sufficiently, leading to rubbery skin.
- 5 min
Rub the entire chicken with olive oil. Then generously apply your chosen BBQ rub all over the chicken, including under the wings and legs. Don't forget to get some rub inside the cavity. If desired, you can also sprinkle a little extra salt, pepper, and garlic powder directly onto the meat under the skin of the breast and thighs.
Why it matters
The olive oil acts as a binder, helping the rub stick and promoting crispy skin. Layering flavors with a base rub and direct seasoning ensures depth.
Common mistake
Under-seasoning the chicken, especially inside the cavity or under the skin.
- 325°F20 min
Preheat your smoker or pellet grill to a target temperature of 325°F. Add your apple wood chunks to the firebox (if using an offset) or ensure your pellet grill is loaded with apple wood pellets. Open the beer can and pour out or drink about 1/4 to 1/2 of it. You can add a clove of garlic or a bay leaf to the remaining beer for extra aroma, if desired.
Why it matters
A higher cooking temperature (325°F vs. typical low-and-slow) is key for rendering fat and achieving crispy skin on poultry. The beer can adds moisture to the cavity, helping to keep the breast meat juicy from the inside.
Common mistake
Setting the smoker temperature too low, which will result in soft, rubbery skin.
- 2 min
Carefully place the chicken upright onto the open beer can, inserting the can into the chicken's cavity. Arrange the legs to create a stable tripod. Place the chicken directly on the grill grates in the smoker.
Why it matters
The upright position allows for even heat circulation around the entire bird, promoting uniform cooking and crisping of the skin.
Common mistake
Not ensuring the chicken is stable, which could cause it to tip over during the cook.
- 325°F1h 40m
Smoke the chicken at 325°F, maintaining a consistent temperature. Use a reliable probe thermometer inserted into the thickest part of the thigh, avoiding the bone, to monitor the internal temperature. Cook until the internal temperature reaches 165°F in the breast and 175°F in the thigh.
Why it matters
Cooking to target internal temperatures ensures food safety while preventing overcooking. The 175°F in the thigh allows connective tissues to break down, making it tender without drying out the breast at 165°F.
Common mistake
Poking the chicken multiple times or relying solely on a pop-up timer; use a quality leave-in thermometer.
- 20 min
Once the chicken reaches the desired internal temperature, carefully remove it from the smoker. Place it on a cutting board and immediately remove the beer can (use tongs or gloves, it will be hot!). Tent the chicken loosely with foil and let it rest for at least 15-20 minutes.
Why it matters
Resting allows the juices to redistribute throughout the meat, resulting in a more tender and moist chicken. Cutting too soon will cause juices to run out, leading to a dry bird.
Common mistake
Skipping the rest step or slicing the chicken immediately after cooking.
- 10 min
After resting, carve the chicken into desired portions: separate the leg and thigh, remove the wings, and slice the breast meat. Serve immediately with your favorite sides.
Why it matters
Proper carving ensures each serving gets a good mix of breast and thigh meat, and a clean presentation.
Common mistake
Carving haphazardly, which can tear the meat and waste parts.
Sauce It
Cooks & Reviews
Guild members can rate this recipe, log their cooks and share photos.
Sign in to continueMember reviews
No reviews yet — be the first to rate this cook.
Ask the Pitmaster about this recipe
Substitutions, scaling, technique, troubleshooting — get answers grounded in this cook.
Sign in to try the AI Pitmaster on Low-and-Slow Beer-Can Whole Chicken. New members get 3 free questions.
Sign in to tryComments(0)
Loading comments…