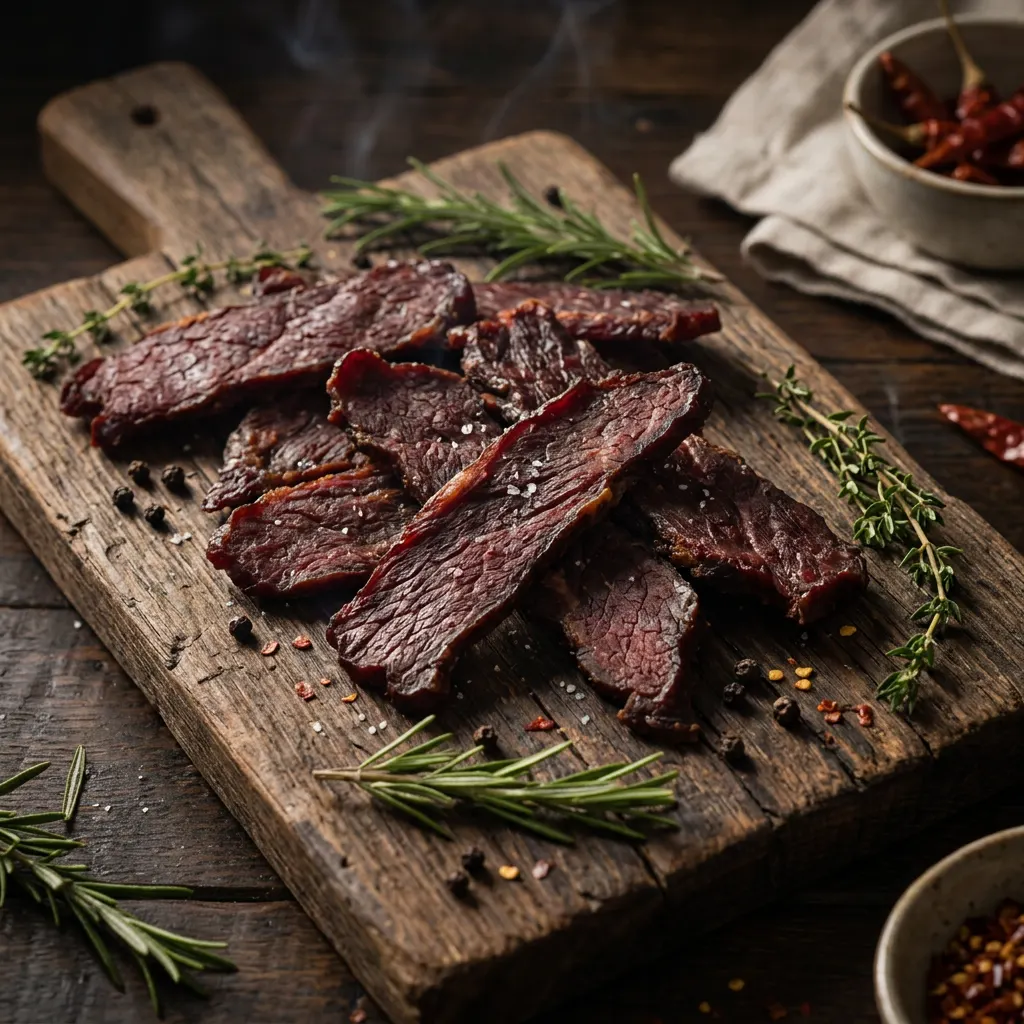
Cherry-Smoked Smoked Beef Jerky with Butcher Paper Wrap
Eye-of-round sliced thin, 24hr marinade, 4hr at 180°F.
Cook Mode
One step at a time, big text, timers, and your screen stays awake. 0/8 steps done.
Ingredients
Tap to tick off · 0/10 gathered
Method
- 1h
Trim all visible fat from the eye-of-round roast. Partially freeze the roast for 1-2 hours to make it easier to slice thinly. Using a sharp knife or meat slicer, cut the beef against the grain into 1/8 to 1/4 inch thick slices.
Why it matters
Trimming fat is crucial as fat can go rancid during the long drying process, affecting flavor and shelf life. Slicing against the grain ensures a more tender chew.
Common mistake
Not removing enough fat, leading to spoiled jerky. Slicing with the grain results in tougher, stringier jerky.
- 5 min
In a large bowl, whisk together soy sauce, Worcestershire sauce, brown sugar, black pepper, garlic powder, onion powder, smoked paprika, and optional curing salt. Ensure the brown sugar is fully dissolved.
Why it matters
A well-mixed marinade ensures even flavor distribution. The brown sugar provides a subtle sweetness that balances the savory and smoky notes, and curing salt adds an extra layer of safety and a desirable pink color.
Common mistake
Not dissolving sugar properly can lead to uneven sweetness on the jerky pieces.
- 24h
Add the sliced beef to the marinade, ensuring all pieces are fully submerged and coated. Cover the bowl and refrigerate for 24 hours, stirring occasionally.
Why it matters
Extended marination allows the flavors to deeply penetrate the meat. If using curing salt, this duration is essential for the nitrites to properly work, ensuring food safety and enhancing color.
Common mistake
Marinating for too short a time results in bland jerky. Over-marinating can sometimes make the jerky too salty, especially if not using a balanced recipe.
- 1h 30m
Remove the beef from the marinade and pat each slice thoroughly dry with paper towels. Arrange the slices on wire racks without overlapping. Allow them to air dry at room temperature for 1-2 hours until a tacky, slightly shiny film (pellicle) forms on the surface.
Why it matters
Pellicle formation is critical. This dry, tacky surface allows smoke to adhere better, creating a richer smoky flavor and color. It also helps in more even drying, preventing case hardening where the outside dries too fast and traps moisture inside.
Common mistake
Skipping this step leads to less smoky flavor and longer drying times in the smoker, sometimes resulting in a less desirable texture.
- 180°F20 min
Preheat your pellet grill or smoker to a stable 180°F (82°C). Load with mesquite wood pellets or chunks. Ensure your smoker has good airflow.
Why it matters
Maintaining a low, consistent temperature is key for drying the meat slowly without cooking it too quickly. Mesquite wood provides a strong, classic smoky flavor that pairs well with beef jerky.
Common mistake
Setting the temperature too high will cook the meat rather than dehydrate it, resulting in a tougher, less desirable texture.
- 180°F4h
Place the jerky slices directly on the smoker grates, leaving space between each piece for optimal airflow. Smoke at 180°F, flipping the pieces every hour, until the jerky is dry, pliable, and tears rather than snaps.
Why it matters
Low and slow smoking dehydrates the meat while infusing it with flavor. Flipping ensures even drying and prevents one side from becoming overly crisp while the other remains moist. The final texture should be leathery but not brittle.
Common mistake
Overcrowding the smoker reduces airflow and leads to uneven drying. Not flipping can result in uneven texture.
- 1h
Once the jerky reaches the desired dryness (it should bend and crack but not break, and a small piece should have no moisture when torn), remove it from the smoker. Place the jerky on a cooling rack at room temperature for at least 1 hour.
Why it matters
Cooling allows any residual heat to dissipate and the jerky to fully firm up and reach its final texture. It also helps redistribute any remaining internal moisture, preventing condensation and potential spoilage when stored.
Common mistake
Storing jerky while still warm can lead to moisture buildup inside the storage container, promoting mold growth.
Once completely cooled, store the jerky in an airtight container or vacuum-seal bags. For best quality, consume within 1-2 weeks at room temperature, or up to 1-2 months refrigerated, or longer if vacuum-sealed.
Why it matters
Proper storage is essential to maintain the quality, freshness, and safety of your homemade jerky. An airtight environment prevents moisture absorption and exposure to air, which can cause spoilage.
Common mistake
Storing jerky in non-airtight containers or while still warm, which significantly reduces its shelf life and increases risk of spoilage.
Sauce It
Cooks & Reviews
Guild members can rate this recipe, log their cooks and share photos.
Sign in to continueMember reviews
No reviews yet — be the first to rate this cook.
Ask the Pitmaster about this recipe
Substitutions, scaling, technique, troubleshooting — get answers grounded in this cook.
Sign in to try the AI Pitmaster on Cherry-Smoked Smoked Beef Jerky with Butcher Paper Wrap. New members get 3 free questions.
Sign in to tryComments(0)
Loading comments…