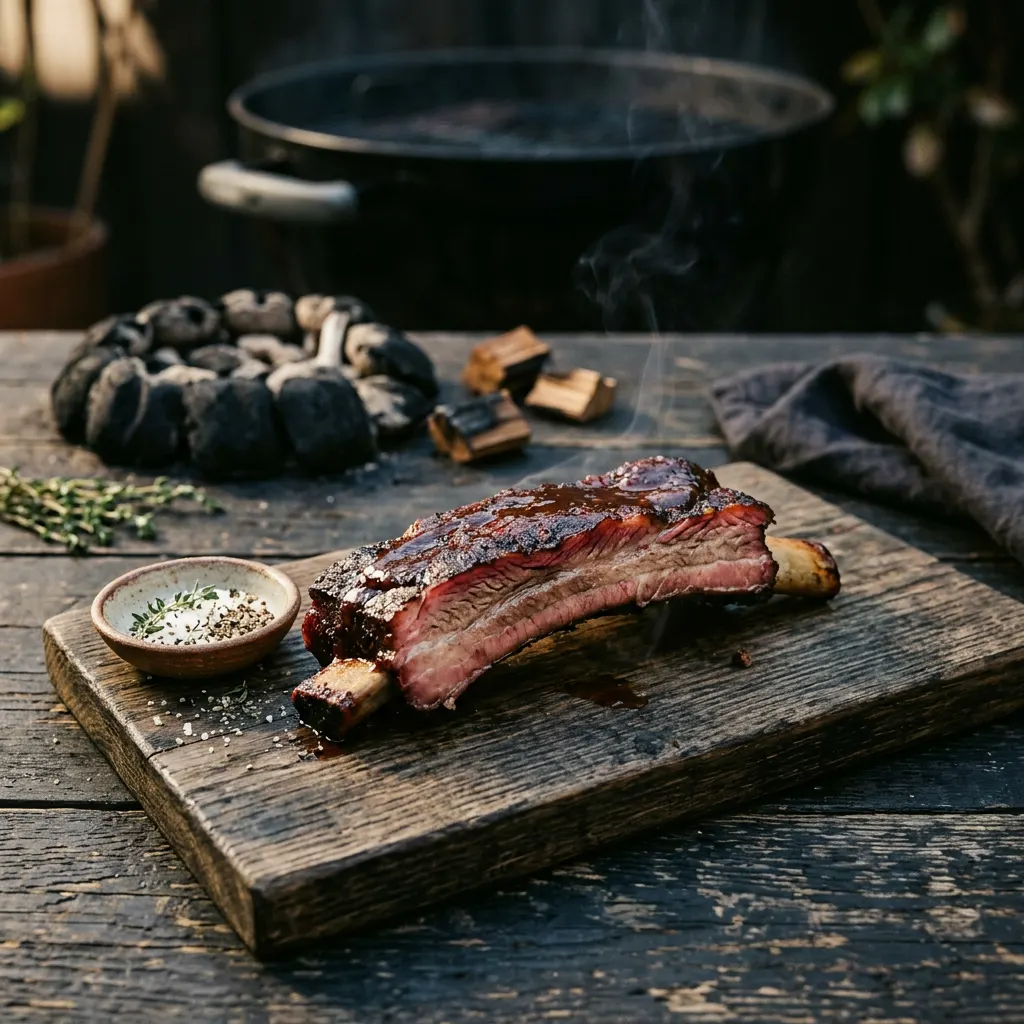
Variation of Hickory-Smoked Snake-Method Kettle Ribs
Charcoal kettle, snake of briquettes, hickory chunks every six.
Cook Mode
One step at a time, big text, timers, and your screen stays awake. 0/7 steps done.
Ingredients
Tap to tick off · 0/12 gathered
Method
- 30 min
Remove the membrane from the back of each rib rack. Trim any excess fat or ragged edges. Apply a thin, even layer of yellow mustard as a binder, then generously coat all sides with your BBQ rub. Let the ribs sit at room temperature while you prepare your smoker.
Why it matters
Removing the membrane ensures a more tender bite and allows the smoke and rub to penetrate the meat better. The mustard acts as a binder for the rub, helping it adhere during the long cook.
Common mistake
Not removing the membrane, which creates a tough, chewy layer. Also, not seasoning generously enough will result in bland ribs.
- 250°F30 min
Arrange your charcoal briquettes in a 'snake' or 'C' shape along the perimeter of your charcoal grate, two briquettes wide and two briquettes high. Place a drip pan in the center. Light about 8-10 briquettes in a chimney starter, and once fully lit, place them at one end of the 'snake'. Distribute your hickory wood chunks evenly on top of the snake, placing one every 6-8 briquettes. Open bottom and top vents to establish airflow.
Why it matters
The snake method ensures a long, consistent burn at a stable low temperature, perfect for smoking ribs without constant tending. The drip pan catches rendering fat, preventing flare-ups and adding moisture to the cooking environment.
Common mistake
Lighting too many briquettes at the start, causing the smoker to overshoot the target temperature. Not using enough wood chunks for consistent smoke flavor.
- 250°F3h
Once your smoker reaches a stable 250°F, place the ribs directly on the grill grates, bone-side down, positioning them away from direct heat over the drip pan. Close the lid and maintain a consistent temperature. Begin spritzing every 45-60 minutes with a mixture of equal parts apple cider vinegar and water.
Why it matters
The initial smoke phase allows the ribs to absorb a deep smoky flavor and develop a beautiful bark. Spritzing keeps the surface moist, which helps with smoke absorption and prevents the bark from drying out or becoming too hard.
Common mistake
Opening the lid too frequently, which causes temperature drops and prolongs cooking time. Not spritzing, leading to a dry bark.
- 250°F1h 30m
After 3 hours, check the bark development. If it's well-set and dark, remove the ribs from the smoker. Lay out two large sheets of heavy-duty aluminum foil. On each sheet, sprinkle brown sugar, drizzle honey, and place a few pats of butter. Place one rack of ribs meat-side down on the prepared foil, then add a splash of apple cider vinegar (about 1/4 cup) to the foil packet. Tightly seal the foil around the ribs, creating an airtight pouch. Return the wrapped ribs to the smoker.
Why it matters
Wrapping the ribs (the 'Texas Crutch') steams them, tenderizing them quickly and pushing them through the stall. The added butter, sugar, and honey melt into a glaze, enhancing flavor and moisture.
Common mistake
Not sealing the foil tightly, which allows steam and moisture to escape, defeating the purpose of the wrap. Wrapping too early can make the bark too soft.
- 250°F1h
After 1.5 hours in the foil, carefully unwrap the ribs. They should be very tender. Discard the liquid if you prefer, or save it for basting. Place the unwrapped ribs back on the grates, bone-side down. Begin to glaze with your favorite BBQ sauce. Apply a thin layer every 15-20 minutes.
Why it matters
Unwrapping allows the bark to firm up again and sets the BBQ sauce into a beautiful glaze. Applying multiple thin layers of sauce builds a rich, sticky coating without burning.
Common mistake
Applying too much sauce at once, leading to a goopy, uncooked sauce layer or easily burnt sauce. Not allowing enough time for the sauce to set.
- 20 min
Ribs are done when they pass the 'bend test' – pick up a rack with tongs in the middle; if it bends significantly and the bark cracks, they're ready. The internal temperature should be around 200-205°F. Remove ribs from the smoker, place them loosely in foil or butcher paper, and let them rest.
Why it matters
The rest period allows the internal juices to redistribute throughout the meat, resulting in a more moist and tender product. Cutting immediately can cause juices to run out, leading to dry ribs.
Common mistake
Skipping the rest step or resting for too short a period, which results in drier ribs when sliced.
After resting, slice the ribs between the bones and serve immediately. Garnish with a little extra BBQ sauce on the side if desired.
Why it matters
Proper slicing ensures each rib has a good meat-to-bone ratio and is easy to eat. Serving warm is crucial for optimal flavor and texture.
Common mistake
Slicing against the grain or too thick, making them harder to eat. Serving cold ribs.
Sauce It
Cooks & Reviews
Guild members can rate this recipe, log their cooks and share photos.
Sign in to continueMember reviews
No reviews yet — be the first to rate this cook.
Ask the Pitmaster about this recipe
Substitutions, scaling, technique, troubleshooting — get answers grounded in this cook.
Sign in to try the AI Pitmaster on Variation of Hickory-Smoked Snake-Method Kettle Ribs. New members get 3 free questions.
Sign in to tryComments(0)
Loading comments…