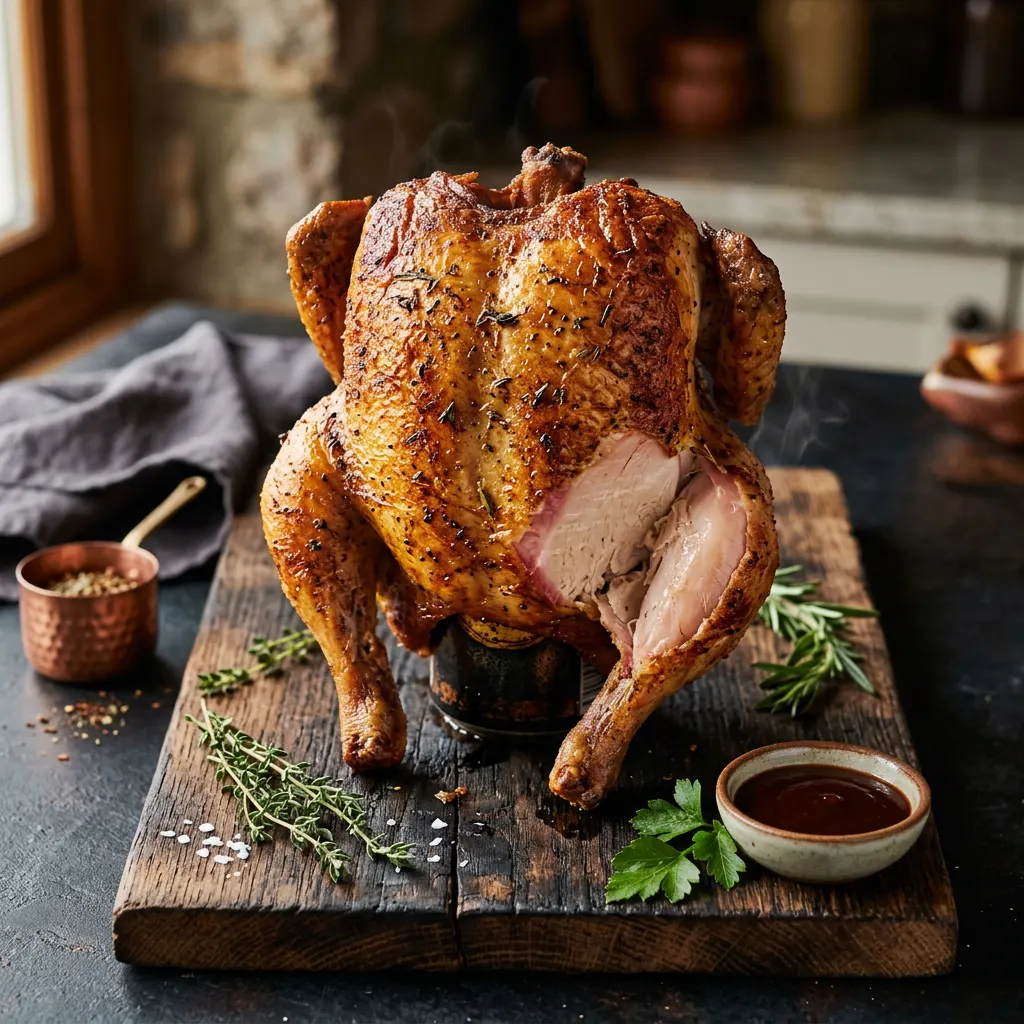
Honey-Glazed Beer-Can Whole Chicken with Butcher Paper Wrap
Published by Shannon Grendahl
The quick answer
- Smoker Temp
- 325°F
- Wood
- Apple
- Pull Temp
- 165°F in the thickest part
- Est. Cook Time
- 2 hr
- Wrap Stage
- No wrap — keep skin exposed
Crispy skin, juicy bird, straightforward backyard cook.
Cook Mode
One step at a time, big text, timers, and your screen stays awake. 0/7 steps done.
Ingredients
Tap to tick off · 0/13 gathered
Method
- 30 min
Remove giblets and neck and pat the chicken dry inside and out. Mix salt, pepper, garlic powder, onion powder, paprika, and dried thyme. Coat the chicken with olive oil and apply the rub all over. Refrigerate uncovered for 30 minutes to 2 hours.
Why it matters
A dry surface is crucial for crispy skin. The oil helps the rub adhere and contributes to a beautiful crust, while the salt begins to penetrate for flavor.
Common mistake
Not patting the chicken dry enough results in rubbery skin.
- 325°F20 min
Fill your pellet smoker hopper with apple wood pellets or prepare your offset smoker with apple wood chips or chunks. Preheat your smoker to a target temperature of 325°F. Place a drip pan with 1/2 cup of chicken broth directly under where the chicken will sit to help keep it moist and catch drippings.
Why it matters
Preheating properly ensures a stable temperature for consistent cooking. The broth in the pan adds moisture to the cooking environment and makes for delicious drippings/gravy later.
Common mistake
Placing chicken in a cold smoker, which extends cook time and can lead to less effective smoke penetration.
- 5 min
Open the beer can and pour out or drink about 1/4 to 1/2 of the beer. This prevents overflow and creates space for steam. You can also add a sprig of rosemary or thyme, or a garlic clove to the beer for added aroma, though it's not strictly necessary for moisture. Carefully place the chicken cavity over the half-full beer can so it sits upright, forming a 'beer can chicken' setup.
Why it matters
The upright position allows for even cooking and heat circulation around the bird. The beer, once heated, creates steam that helps keep the breast meat moist.
Common mistake
Using a full beer can, which can boil over and make a mess in your smoker.
- 325°F1h 30m
Once the smoker reaches 325°F, carefully place the chicken (on its rack) into the smoker, sitting upright on the rack. Insert a reliable meat thermometer into the thickest part of the breast, avoiding the bone. Close the lid and maintain a consistent smoker temperature.
Why it matters
Cooking at a higher temperature helps render the fat under the skin, leading to that desired crispy texture, while the upright position allows for even cooking.
Common mistake
Opening the smoker lid too frequently, causing temperature fluctuations and extending the cook time.
- 325°F30 min
Continue smoking, monitoring the internal temperature of the breast. The chicken is done when the thickest part of the breast reaches an internal temperature of 165°F. The legs and thighs should register around 175-180°F for optimal tenderness.
Why it matters
Cooking to the correct internal temperature ensures the chicken is safe to eat and perfectly cooked without being dry. Relying on time alone can lead to under or overcooked chicken.
Common mistake
Pulling the chicken too early, resulting in unsafe raw areas, or cooking too long, leading to dry meat.
- 15 min
Once the desired internal temperatures are reached, carefully remove the chicken from the smoker, still on its rack. Place it on a cutting board, tent loosely with aluminum foil, and allow it to rest for at least 10-15 minutes.
Why it matters
Resting allows the juices to redistribute throughout the meat, leading to a much juicier and more flavorful chicken. Skipping this step results in dry meat.
Common mistake
Carving the chicken immediately after taking it off the smoker, causing all the juices to run out.
- 5 min
After resting, carefully remove the chicken from the rack. Carve the chicken into preferred pieces (breasts, thighs, legs, wings). Serve immediately, perhaps with your favorite side dishes.
Why it matters
Proper carving ensures each serving gets a good mix of meat and allows for ease of eating. Enjoy the fruits of your labor!
Common mistake
Using a dull knife for carving, which can tear the meat rather than cut it cleanly.
Sauce It
Smoking this for the weekend? Send this recipe to your crew.
Free 12-Page Guide
The Pitmaster Field Manual
Five core habits, meat and wood reference charts, rub formulas, and a printable cook log. Download the free manual and join the Guild email list for new recipes and techniques.
Cooks & Reviews
Guild members can rate this recipe, log their cooks and share photos.
Sign in to continueMember reviews
No reviews yet — be the first to rate this cook.
Ask the Pitmaster about this recipe
Substitutions, scaling, technique, troubleshooting — get answers grounded in this cook.
Sign in to try the AI Pitmaster on Honey-Glazed Beer-Can Whole Chicken with Butcher Paper Wrap. New members get 3 free questions.
Sign in to tryComments(0)
Loading comments…