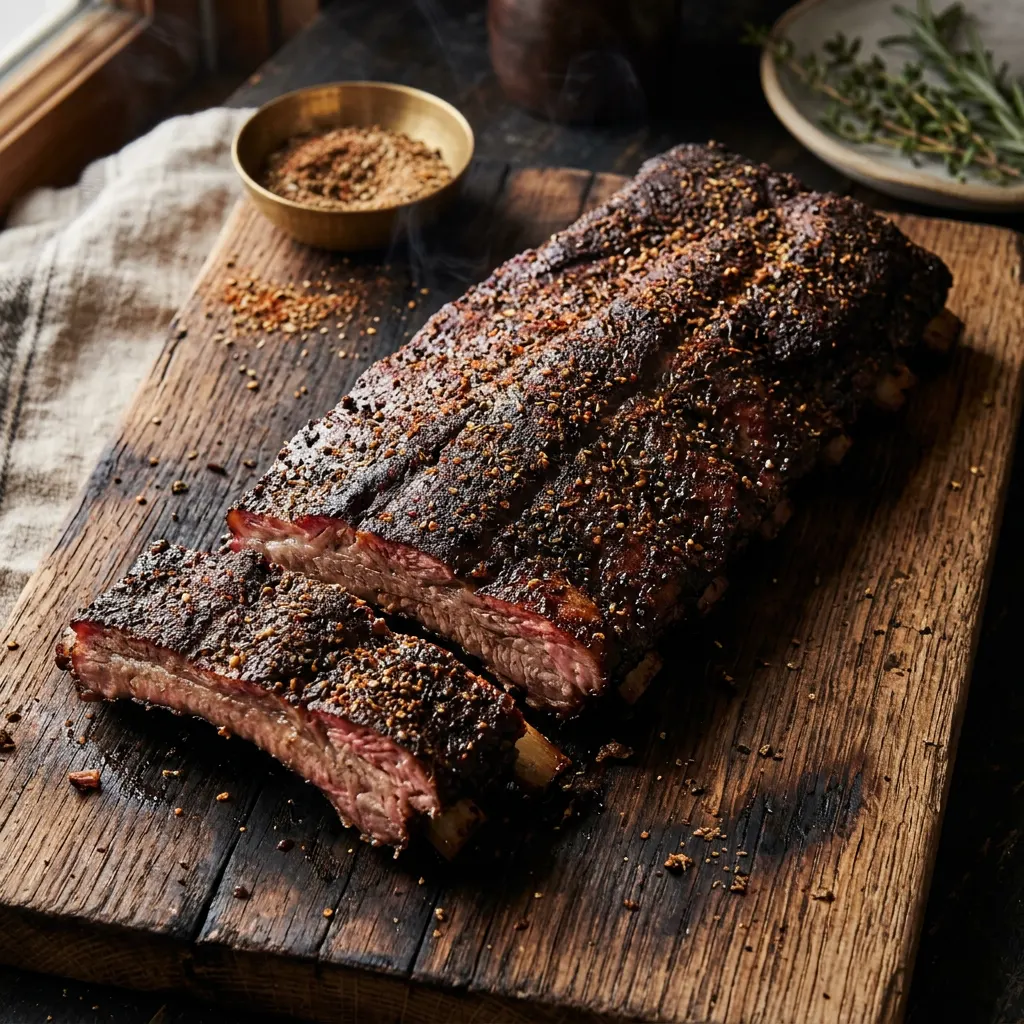
Hickory-Smoked Memphis Dry Rub Baby Backs
No sauce, no foil — just rub, smoke, and dry-rub finishing dust.
Cook Mode
One step at a time, big text, timers, and your screen stays awake. 0/8 steps done.
Ingredients
Tap to tick off · 0/12 gathered
Method
- 15 min
Remove the membrane from the back of each rack of ribs using a paper towel for grip. Trim any excess fat or loose flaps of meat. Pat ribs completely dry with paper towels.
Why it matters
Removing the membrane ensures a tender bite and allows the smoke and rub to penetrate evenly. Drying the surface is crucial for rub adhesion and bark development.
Common mistake
Leaving the membrane on results in chewy, unpleasantly textured ribs that don't absorb smoke flavor well.
- 30 min
In a bowl, combine smoked paprika, granulated garlic, onion powder, brown sugar, coarse black pepper, kosher salt, cayenne pepper, and dry mustard powder. Mix well. Generously apply the dry rub to all sides of the ribs, pressing gently to adhere.
Why it matters
A generous and even application of rub creates the foundation of flavor and is key to developing that distinctive Memphis bark. The salt also begins to draw out moisture and tenderize the meat.
Common mistake
Not applying enough rub, or not allowing it to 'set' for a short period, can lead to a less flavorful bark and an under-seasoned final product.
- 250°F20 min
Fill your smoker's hopper with apple wood pellets or add apple wood chunks to your charcoal. Set your smoker temperature to 250°F (121°C). Place a water pan inside the smoker, if applicable, to help maintain humidity.
Why it matters
Preheating ensures a stable cooking environment from the moment the ribs enter the smoker. Consistent temperature is vital for even cooking and smoke penetration.
Common mistake
Putting ribs on a cold or fluctuating smoker leads to inconsistent cooking and less effective smoke absorption.
- 250°F2h
Once the smoker is at a stable 250°F, place the ribs directly on the grates, bone-side down. Close the lid and maintain the temperature. Do not open the lid for the first 2 hours.
Why it matters
Keeping the lid closed during the initial smoke allows for maximum smoke ring development and bark formation without heat loss. Bone-side down protects the meat from direct heat.
Common mistake
Frequent lid-opening causes significant temperature drops, extending cook time and reducing smoke penetration.
- 250°F3h
After 2 hours, begin to spritz the ribs every 45-60 minutes with a mixture of 1/2 cup apple cider vinegar and 1/2 cup water. Continue smoking at 250°F until the ribs develop a dark, rich bark and are tender.
Why it matters
Spritzing keeps the surface moist, which helps the bark continue to develop without drying out, and the acidity in the vinegar can tenderize the surface slightly and enhance flavor.
Common mistake
Over-spritzing or not spritzing at all. Over-spritzing cools the surface too much; not spritzing can lead to a dry, crunchy bark rather than a tender, flavorful one.
- 203°F
The ribs are done when they pass the 'bend test' – when you pick up one end with tongs, the rack should bend significantly and cracks should appear in the bark, but not break apart completely. An internal temperature around 200-205°F (93-96°C) is a good indicator of tenderness.
Why it matters
The 'bend test' is the most reliable method for judging rib tenderness. Relying solely on internal temperature can be misleading as ribs continue to break down connective tissue at higher temps.
Common mistake
Pulling the ribs too early results in chewy meat; cooking too long makes them fall-off-the-bone, which isn't ideal for competition-style ribs.
- 20 min
Once tender, remove the ribs from the smoker and place them on a cutting board. Tent loosely with foil (do not wrap tightly to avoid steaming the bark) or butcher paper and let them rest.
Why it matters
Resting allows the muscle fibers to relax and reabsorb juices, resulting in more tender and moist ribs. Tenting loosely preserves the bark.
Common mistake
Cutting into the ribs immediately, which causes juices to run out, leading to dry, less flavorful meat.
After resting, slice the ribs between the bones and serve immediately. Optionally, sprinkle with a final dusting of your dry rub for an extra burst of flavor and visual appeal.
Why it matters
Proper slicing ensures each piece is presentable and easy to eat. A final dusting of rub enhances the 'dry rub' experience.
Common mistake
Slicing against the bone or not having a sharp enough knife can tear the meat and ruin the presentation.
Free Guide
5 Techniques Competition Smokers Use That Home Cooks Don't
Join the Guild email list and we'll send you the free guide — the exact moves that separate backyard cooks from competition pitmasters.
Cooks & Reviews
Guild members can rate this recipe, log their cooks and share photos.
Sign in to continueMember reviews
No reviews yet — be the first to rate this cook.
Ask the Pitmaster about this recipe
Substitutions, scaling, technique, troubleshooting — get answers grounded in this cook.
Sign in to try the AI Pitmaster on Hickory-Smoked Memphis Dry Rub Baby Backs. New members get 3 free questions.
Sign in to tryComments(0)
Loading comments…