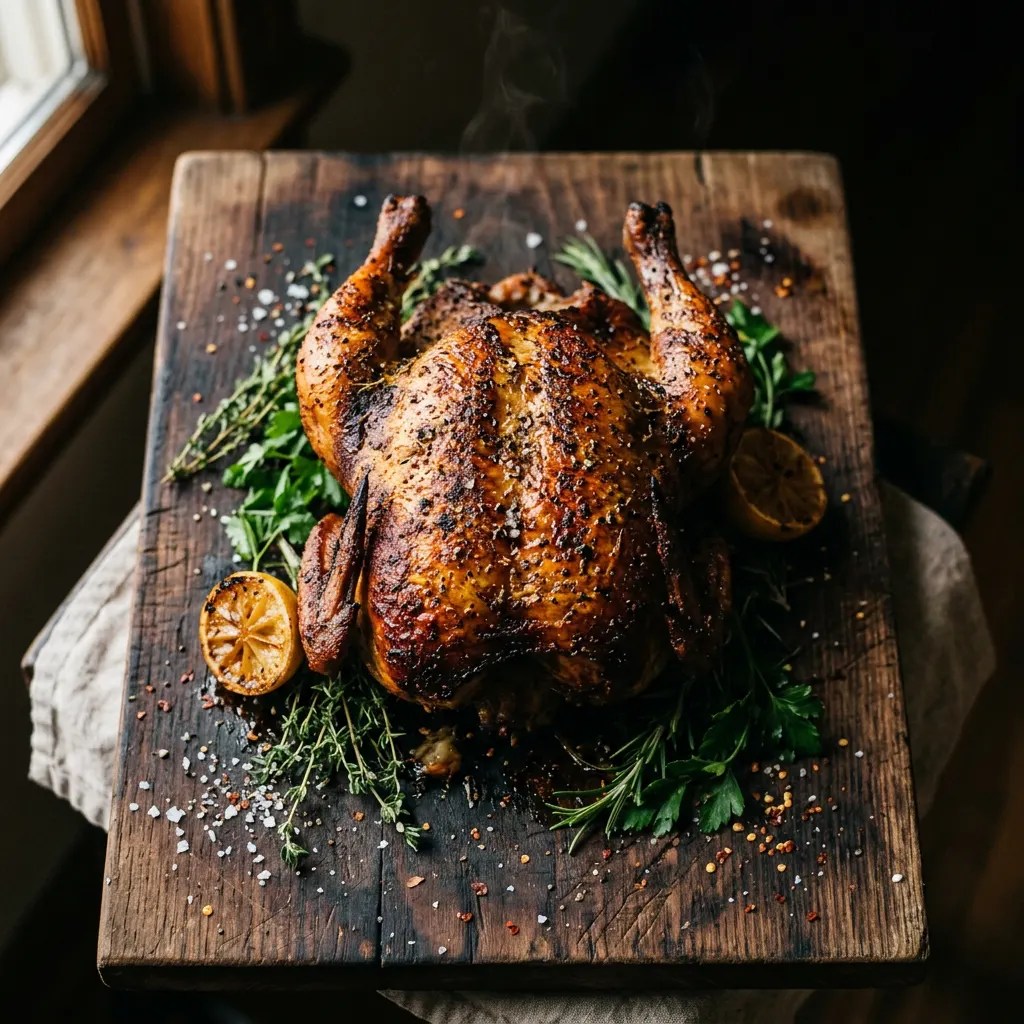
Apple-Smoked Pecan-Smoked Beer-Can Whole Chicken
Crispy skin, juicy bird, straightforward backyard cook.
Cook Mode
One step at a time, big text, timers, and your screen stays awake. 0/7 steps done.
Ingredients
Tap to tick off · 0/9 gathered
Method
- 15 min
Remove the chicken from its packaging, pat it thoroughly dry inside and out with paper towels. Trim any excess fat or loose skin around the cavity. In a small bowl, combine kosher salt, black pepper, garlic powder, paprika, and onion powder to create your rub. Rub the chicken all over with olive oil, then generously apply the rub, ensuring it's evenly distributed, including under the wings and legs.
Why it matters
A dry surface is crucial for crispy skin. Patting dry removes moisture that would otherwise steam the skin, preventing it from crisping. The oil helps the rub adhere and contributes to browning, while a good rub ensures flavor penetrates the meat.
Common mistake
Not drying the chicken thoroughly, leading to rubbery skin. Don't be shy with the rub, ensure full coverage.
- 325°F20 min
Load your pellet grill with apple wood pellets or prepare your offset smoker with apple wood chunks. Preheat your smoker to a steady 325°F (163°C). Ensure a drip pan is in place directly under where the chicken will sit to catch drippings and prevent flare-ups.
Why it matters
A consistent, higher temperature is key for chicken; it renders fat and crisps the skin, unlike lower 'low and slow' temperatures used for other meats. Apple wood provides a mild, sweet smoke that pairs perfectly with poultry without overpowering it.
Common mistake
Smoking chicken at too low a temperature, which results in soggy skin and can risk rubbery texture. Don't rush the preheat.
- 5 min
Open the can of light beer and pour out about half of it (or drink it, pitmaster's choice!). You only need about half a can. If you have a dedicated beer-can chicken stand, place the half-filled beer can into the stand. Carefully set the chicken upright onto the beer can, sliding the cavity over the can. Tuck the wing tips behind the back of the chicken to prevent them from burning.
Why it matters
The beer can provides internal moisture, steaming the chicken from the inside out, which helps keep the breast meat juicy and tender. Standing the chicken upright allows for even cooking and all-around crispy skin.
Common mistake
Using a full can of beer, which can overflow. Not tucking the wings, which often results in burnt wing tips due to direct heat.
- 325°F1h 30m
Carefully place the chicken, still on its beer can stand, directly onto the grates of your preheated smoker. Insert a reliable meat thermometer into the thickest part of the breast, avoiding the bone. Close the smoker lid and maintain the smoker temperature at 325°F.
Why it matters
Monitoring the internal temperature is non-negotiable for food safety and optimal doneness. Smoking at a consistent 325°F allows the skin to crisp while the internal steam keeps the meat moist. The higher temp ensures fats render efficiently.
Common mistake
Opening the smoker too frequently, which causes temperature fluctuations and extends cook time. Not using a probe, leading to under or overcooked chicken.
- 325°F30 min
Continue smoking until the internal temperature of the thickest part of the breast reaches 165°F (74°C). The thighs should ideally reach 175-180°F (79-82°C) for best texture. The skin should be deeply golden brown and crispy.
Why it matters
Different parts of the chicken cook at different rates and benefit from varying temperatures. 165°F is the safe minimum for breast, while thighs are better slightly higher for tenderness. Hitting these targets ensures a juicy and safe bird.
Common mistake
Removing the chicken too early, risking unsafe consumption, or cooking too long, resulting in dry breast meat.
- 15 min
Once the chicken reaches the target internal temperatures, carefully remove it from the smoker and transfer it, still on the beer can stand, to a cutting board. Tent loosely with aluminum foil for 10-15 minutes.
Why it matters
Resting allows the juices within the meat to redistribute throughout the bird. Cutting too early would cause all those delicious juices to run out, leaving you with a dry chicken. The foil tent keeps it warm without steaming the crispy skin.
Common mistake
Carving the chicken immediately after removing it from the smoker, leading to a dry and less flavorful meal.
- 10 min
After resting, carefully remove the chicken from the beer can stand (be cautious, the can will be hot!). Carve the chicken into individual portions. Serve immediately with your favorite BBQ sides.
Why it matters
Proper carving ensures each serving gets a good mix of breast and thigh meat, if desired, and presents the chicken nicely. Serving immediately capitalizes on the crisp skin and juicy interior.
Common mistake
Not using caution when removing the hot beer can, or struggling with carving, which can tear the meat and make for an unappealing presentation.
Sauce It
Cooks & Reviews
Guild members can rate this recipe, log their cooks and share photos.
Sign in to continueMember reviews
No reviews yet — be the first to rate this cook.
Ask the Pitmaster about this recipe
Substitutions, scaling, technique, troubleshooting — get answers grounded in this cook.
Sign in to try the AI Pitmaster on Apple-Smoked Pecan-Smoked Beer-Can Whole Chicken. New members get 3 free questions.
Sign in to tryComments(0)
Loading comments…