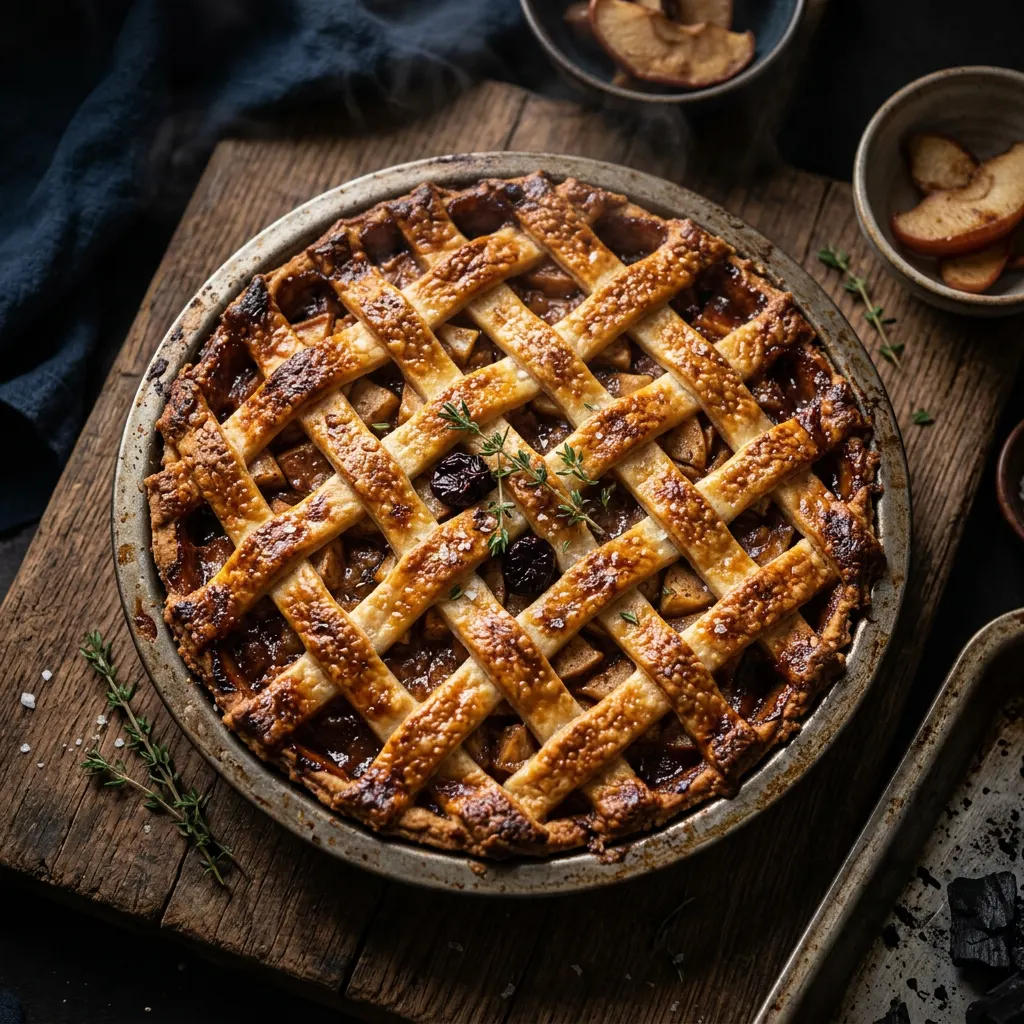
Backyard Pellet Smoker Smoked Apple Pie
Bourbon-spiked filling, lattice top, 1hr at 350°F with cherry.
Cook Mode
One step at a time, big text, timers, and your screen stays awake. 0/14 steps done.
Ingredients
Tap to tick off · 0/23 gathered
Method
- 15 min
In a large bowl, combine the sliced apples, granulated sugar, all-purpose flour, ground cinnamon, ground nutmeg, lemon juice, and bourbon. Toss gently to ensure all apple slices are evenly coated. Let stand for 10 minutes to allow juices to form.
Why it matters
Coating the apples prevents them from browning and ensures the spices are evenly distributed, while letting it sit pre-releases juices for a richer filling.
Common mistake
Not letting the apples sit, which can result in a drier filling.
- 15 min
In a large bowl, combine the sliced apples, granulated sugar, flour, cinnamon, nutmeg, bourbon, and lemon juice. Toss gently until the apples are evenly coated. Let stand for 10-15 minutes to allow the flavors to meld and some liquid to release.
Why it matters
Allowing the apples to sit helps draw out moisture, preventing a soggy pie bottom and creating a richer, more concentrated filling flavor.
Common mistake
Skipping this step can lead to a watery pie filling that weakens the bottom crust.
- 15 min
In a large bowl, combine the sliced apples, granulated sugar, all-purpose flour, cinnamon, nutmeg, salt, bourbon, and lemon juice. Toss gently until the apples are evenly coated. Set aside to allow the flavors to meld and the apples to release some liquid.
Why it matters
Allowing the apples to sit helps draw out moisture, preventing a watery pie and creating a richer, more concentrated apple flavor.
Common mistake
Skipping this step can lead to a soggy pie crust.
- 15 min
Unroll one pie crust and gently fit it into a 9-inch pie plate. Trim edges if necessary, leaving about a 1/2-inch overhang. Pour the apple filling into the pie crust, mounding it slightly in the center. Dot the top of the filling with the small pieces of butter. Unroll the second pie crust and cut into 1-inch wide strips. Create a lattice top over the apple filling.
Why it matters
A lattice top not only looks appealing but also allows steam to escape during cooking, preventing the crust from becoming too soggy and ensuring even baking of the filling.
Common mistake
Not leaving vents or a lattice can result in trapped steam, making the top crust balloon and potentially crack unevenly.
- 2 min
In a small bowl, whisk together the beaten egg and water to create an egg wash. Lightly brush the top crust of the assembled pie with the egg wash.
Why it matters
The egg wash gives the pie a beautiful golden-brown, shiny finish and can help crisp up the crust.
Common mistake
Applying too much egg wash can make the crust too tough; too little and it won't brown evenly.
- 5 min
Trim and crimp the edges of the lattice and bottom crust together to seal. Brush the top of the lattice with the beaten egg wash.
Why it matters
The egg wash gives the crust a beautiful golden-brown color and a slight sheen, enhancing its visual appeal and creating a delicate, crisp finish.
Common mistake
Skipping the egg wash or an uneven application can lead to a dull, pale crust.
- 350°F15 min
Set your pellet smoker to 350°F (175°C). Load with cherry wood pellets.
Why it matters
Preheating properly ensures a consistent cooking temperature from the moment the pie enters the smoker, promoting even baking and preventing undercooked spots. Cherry wood imparts a sweet, mild smoke that complements the apple and bourbon flavors.
Common mistake
Placing the pie in a cold smoker will extend cook time and can result in a less crisp crust.
- 350°F20 min
Fill your pellet grill hopper with cherry wood pellets. Set the smoker temperature to 350°F (175°C) and allow it to preheat fully for at least 15-20 minutes, ensuring a stable temperature before placing the pie inside.
Why it matters
Preheating is crucial for maintaining a consistent cooking temperature throughout the bake, ensuring even cooking and proper crust development.
Common mistake
Placing the pie in a cold smoker; this extends cook time and can result in an underbaked crust.
- 350°F1h
Carefully place the assembled pie directly onto the grate in the preheated pellet smoker. Close the lid and cook for 60 minutes.
Why it matters
Maintaining a steady temperature is crucial for the crust to brown and the apple filling to cook through and become tender. The low heat of the smoker combined with the cherry wood imparts a unique smoky nuance without overpowering the sweetness.
Common mistake
Opening the smoker lid too frequently will cause temperature fluctuations, slowing down cooking and potentially drying out the pie.
The pie is done when the crust is golden brown and the filling is bubbling thickly. You can gently insert a thin knife into the center to check if the apples are tender.
Why it matters
Visual cues and a quick tenderness check confirm the pie is fully cooked, ensuring a pleasant texture for both crust and filling. The bubbling filling indicates the starches have thickened.
Common mistake
Under-baking will result in a raw crust and crunchy apples; over-baking can lead to a dry, burnt crust.
- 3h
Carefully remove the pie from the smoker using oven mitts and place it on a wire rack to cool. Allow the pie to rest for at least 2-3 hours before slicing and serving.
Why it matters
Resting allows the filling to set completely. Slicing too early will result in a runny, messy pie.
Common mistake
Slicing the pie while it's still hot, which will cause the filling to spill out.
- 2h
Carefully remove the pie from the smoker and place it on a wire rack to cool completely.
Why it matters
Cooling allows the filling to set properly. Cutting into a hot pie will cause the filling to spread, making it runny and difficult to serve neatly.
Common mistake
Cutting into the pie while it's still hot will result in a messy, unset slice.
Once cooled, slice and serve your smoked apple pie. It's delicious on its own or with a scoop of vanilla ice cream.
Why it matters
Serving at a cooler temperature enhances the texture and allows the complex flavors, including the subtle smoke, to be fully appreciated.
Common mistake
Serving too warm can mask the nuanced flavors, especially the delicate smoke.
Once cooled and set, slice the smoked apple pie and serve warm or at room temperature. It's excellent on its own or with a scoop of vanilla bean ice cream.
Why it matters
Serving at the right temperature maximizes the enjoyment of the flavors and textures.
Common mistake
Not appreciating the unique smoky essence imparted by the pellet grill!
Free Guide
5 Techniques Competition Smokers Use That Home Cooks Don't
Join the Guild email list and we'll send you the free guide — the exact moves that separate backyard cooks from competition pitmasters.
Cooks & Reviews
Guild members can rate this recipe, log their cooks and share photos.
Sign in to continueMember reviews
No reviews yet — be the first to rate this cook.
Ask the Pitmaster about this recipe
Substitutions, scaling, technique, troubleshooting — get answers grounded in this cook.
Sign in to try the AI Pitmaster on Backyard Pellet Smoker Smoked Apple Pie. New members get 3 free questions.
Sign in to tryComments(0)
Loading comments…