Tandoori, Two-Stage
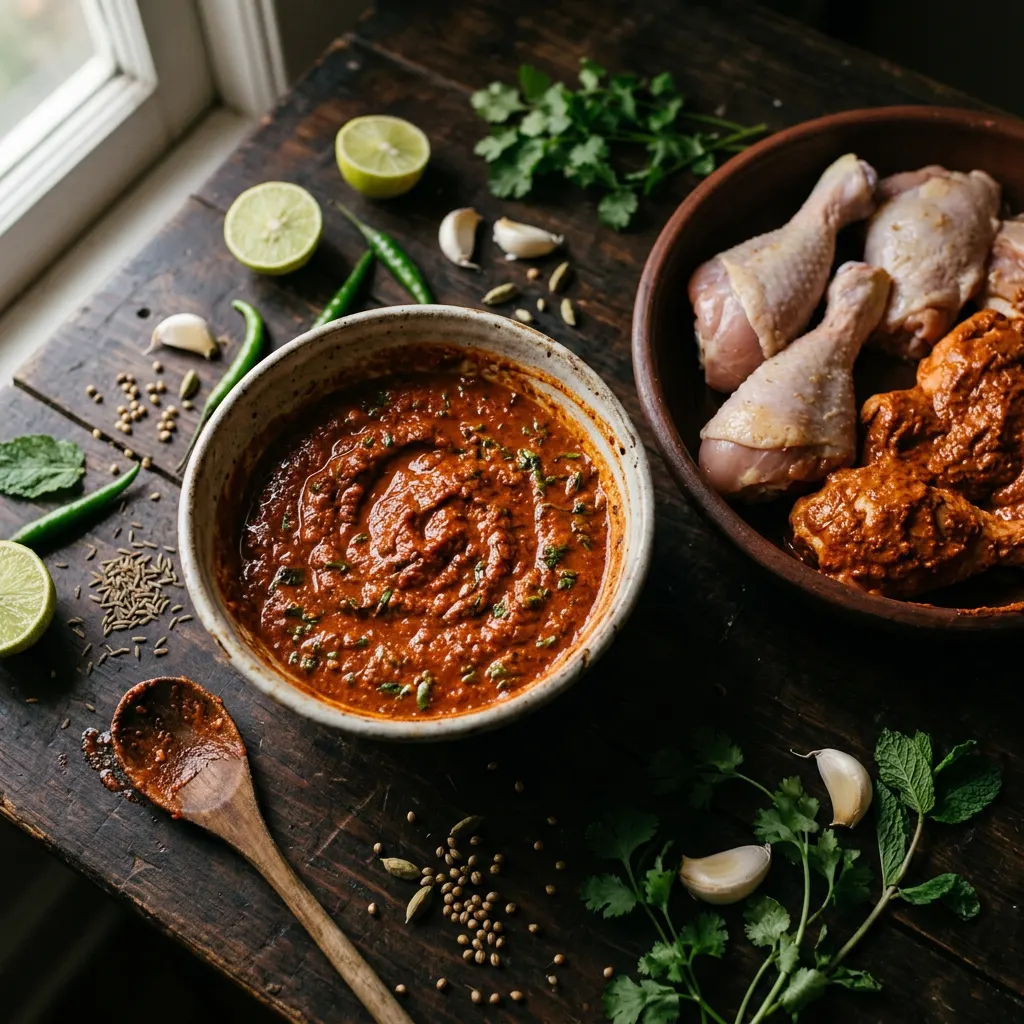
The two-stage method a real tandoori house uses. Salt-and-acid stage opens the surface, then a yogurt-and-spice stage carries flavor deep. Best on chicken, lamb, and paneer.
Cook Mode
One step at a time, big text, timers, and your screen stays awake. 0/16 steps done.
Ingredients
Tap to tick off · 0/28 gathered
Method
- 30 min
Score the chicken thighs deeply in several places, being careful not to cut all the way through. In a bowl, combine the lemon juice and kosher salt, then thoroughly massage this mixture into the scored chicken. Ensure every piece is well coated.
Why it matters
The acid and salt in this first stage begin to break down the surface proteins, creating channels for deeper flavor penetration later. It's the secret to truly tender and flavorful tandoori.
Common mistake
Not scoring the meat deeply enough, which hinders the initial flavor infusion.
- 1h
In a medium bowl, combine the cut chicken pieces with lemon juice and kosher salt. Mix well to ensure all pieces are coated. Cover and refrigerate.
Why it matters
The acid and salt begin to break down the surface proteins of the meat, tenderizing it and creating microscopic channels for the second marinade's flavors to penetrate more deeply.
Common mistake
Not mixing thoroughly, leading to uneven curing and seasoning.
Score the meat, then rub with the lemon juice, salt, and ginger-garlic paste. Rest 20 minutes so the acid and salt open the surface for stage 2.
- 10 min
While the chicken is undergoing its initial cure, prepare the second marinade. In a separate bowl, combine the yogurt, ginger-garlic paste, garam masala, cumin powder, coriander powder, turmeric powder, cayenne pepper, and optional red food coloring. Mix well until all ingredients are fully incorporated and the paste is smooth.
Why it matters
Preparing this in advance allows the spices to bloom slightly and gives you a smooth transition to the next curing stage.
Common mistake
Rushing this step and not fully mixing the spices, leading to uneven flavor.
Whisk the yogurt marinade smooth. Coat the meat and marinate 4 to 24 hours. The yogurt tenderizes gently without the mush harsher acids cause.
- 4h
In a separate bowl, whisk together the yogurt, ginger-garlic paste, garam masala, ground cumin, ground coriander, cayenne pepper, smoked paprika, and red food coloring (if using). After the first marinade, drain any excess liquid from the chicken. Add the yogurt-spice mixture to the chicken, coating every piece thoroughly. Cover and refrigerate.
Why it matters
The lactic acid in the yogurt further tenderizes the meat while the spices infuse deep flavor. The yogurt also helps to create a crust when cooking and prevents the chicken from drying out.
Common mistake
Not draining the first marinade, which can dilute the flavor and consistency of the second marinade.
- 350°F15 min
Thread the marinated chicken pieces onto metal skewers, leaving a small space between each piece for even cooking. Preheat your smoker or pellet grill.
Why it matters
Properly preheating ensures the smoker is at a stable temperature and ready to impart consistent smoke flavor immediately when the food goes in.
Common mistake
Putting cold skewers directly onto a cold grill, which can lead to uneven cooking and sticking.
- 4h
After 30 minutes, rinse the chicken thoroughly under cold water to remove the salt and lemon juice mixture, then pat very dry with paper towels. Transfer the chicken to the bowl with the yogurt marinade, ensuring each piece is completely coated. Cover and refrigerate.
Why it matters
Rinsing removes excess salt and acid, while patting dry creates a surface ready to absorb the rich yogurt marinade. The yogurt acts as a tenderizer and flavor carrier, and leaving it to cure allows the pellicle (a sticky surface layer) to form, which helps smoke adhere.
Common mistake
Not rinsing the chicken, resulting in overly salty or sour meat, or not drying it, which prevents proper pellicle formation.
- 300°F30 min
An hour before you plan to smoke, remove the chicken from the refrigerator to allow it to come closer to room temperature. Preheat your pellet grill or smoker to the target temperature, using your preferred wood pellets. Ensure there's a drip pan underneath the grate where the chicken will be placed.
Why it matters
Allowing the meat to warm up slightly promotes more even cooking. Preheating the smoker ensures a stable temperature from the start and prevents temperature swings which can affect cook time and texture.
Common mistake
Putting cold meat directly into a hot smoker, leading to uneven cooking.
- 350°F20 min
Place the skewers directly on the grill grates. Cook until chicken is lightly browned and starts to firm up. Turn occasionally.
Why it matters
This initial phase sets the exterior, contributing to the maillard reaction for flavor and color, and allows the smoke to begin permeating the meat.
Common mistake
Overcrowding the smoker, which can reduce air circulation and create an uneven cook.
- 300°F1h
Place the marinated chicken directly on the grill grates. Smoke until the internal temperature reaches the desired doneness, basting every 30-45 minutes with a little vegetable oil.
Why it matters
The oil basting helps achieve a beautiful exterior crust and keeps the meat moist during the cooking process. Cooking to temperature ensures the meat is safely cooked and tender.
Common mistake
Overcooking the chicken, leading to dry and rubbery meat.
- 350°F15 min
Brush the chicken with vegetable oil. Continue cooking, turning and basting occasionally with more oil, until the internal temperature reaches 165°F in the thickest part of the chicken. The chicken should have a beautiful char in spots.
Why it matters
Basting with oil helps prevent drying, promotes browning, and contributes to the characteristic tandoori finish.
Common mistake
Not using a reliable thermometer and overcooking the chicken, resulting in dry and tough meat.
- 10 min
Once the chicken reaches its target internal temperature, remove it from the smoker and tent loosely with foil. Let it rest on a cutting board or platter.
Why it matters
Resting allows the muscle fibers to relax and reabsorb juices, resulting in a more tender and flavorful product.
Common mistake
Cutting into the chicken immediately after removing it from the smoker, causing all the juices to run out.
- 5 min
Remove the skewers from the smoker and let them rest on a cutting board or platter.
Why it matters
Resting allows the juices to redistribute throughout the meat, preventing them from escaping when cut and ensuring a more succulent final product.
Common mistake
Cutting into the chicken immediately after cooking, which causes juices to run out.
Serve the tandoori chicken hot with fresh naan bread, rice, or a side of raita. Garnish with fresh cilantro if desired.
Why it matters
Presentation enhances the dining experience, and serving immediately ensures the best flavor and texture.
Common mistake
Letting the cooked chicken sit for too long before serving, which can dry it out.
Carefully slide the chicken off the skewers. Serve hot with your favorite accompaniments like naan, rice, or a fresh mint chutney.
Why it matters
Presentation enhances the dining experience, and serving with traditional sides completes the flavor profile.
Common mistake
Serving without proper garnishes or complementary dishes, which limits the overall experience.
Cooks & Reviews
Guild members can rate this recipe, log their cooks and share photos.
Sign in to continueMember reviews
No reviews yet — be the first to rate this cook.
Ask the Pitmaster about this recipe
Substitutions, scaling, technique, troubleshooting — get answers grounded in this cook.
Sign in to try the AI Pitmaster on Tandoori, Two-Stage. New members get 3 free questions.
Sign in to tryComments(0)
Loading comments…