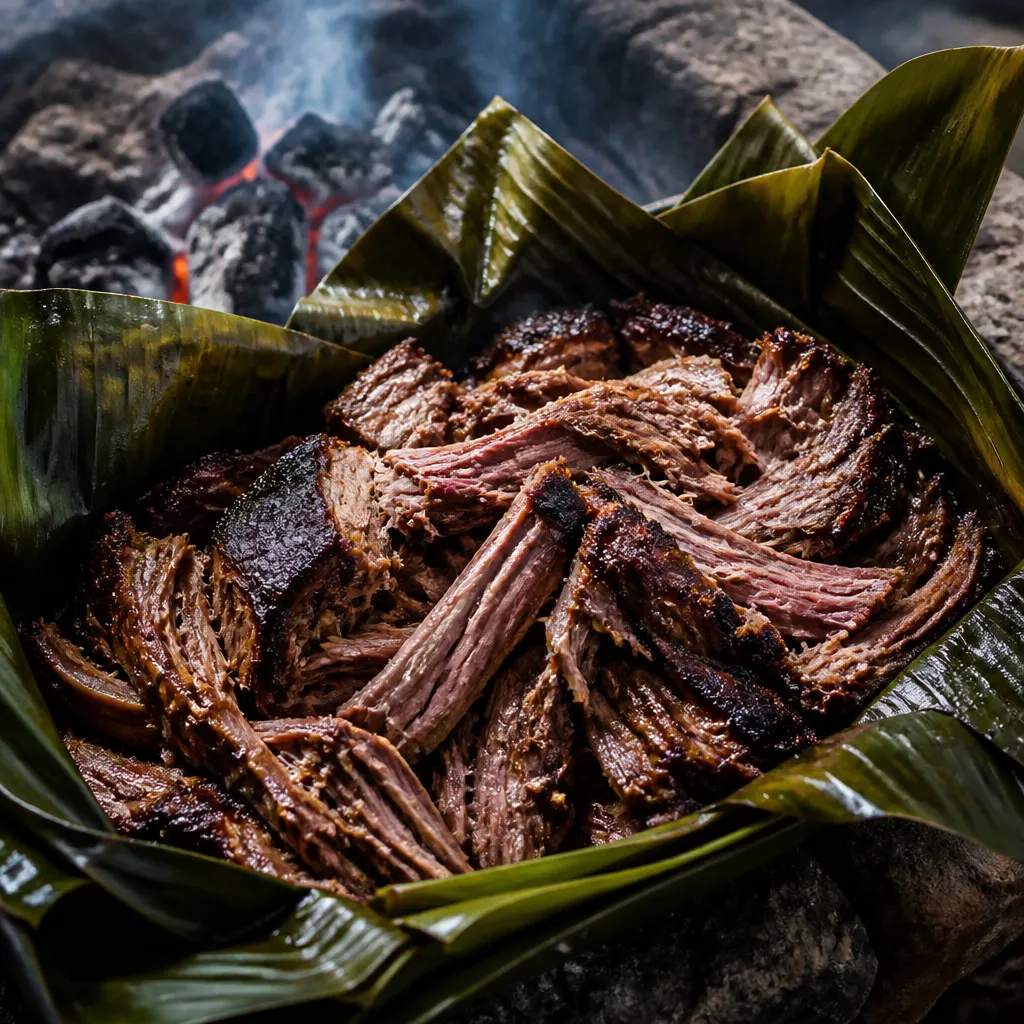
Smoker Kalua Pork
The single most important dish in Hawaiian cooking, and the one to start with. Real kalua pig comes out of an underground imu pit, but the soul of it (smoke, salt, and a long slow render) translates beautifully to a backyard smoker. Just three real ingredients and a patient cook.
Cook Mode
One step at a time, big text, timers, and your screen stays awake. 0/8 steps done.
Ingredients
Tap to tick off · 0/4 gathered
- — MAIN —
Method
- 15 min
Begin with a 7 lb bone-in pork shoulder. Using a paring knife, pierce the meat deeply in 10-15 locations across the muscle; these channels allow the minerals from the sea salt to migrate into the center of the dense roast. If using liquid smoke (1 tbsp) due to equipment limitations, brush it over the surface now so it penetrates the piercings. This physical preparation is the first step in ensuring the internal meat is as seasoned as the exterior bark.
Why it matters
Deep piercings facilitate salt penetration into the thickest parts of the muscle, preventing a bland interior.
Common mistake
Failing to pierce the meat, which results in seasoning only the outer half-inch of a massive roast.
- 38°F12h
Apply 2.5 tbsp of Hawaiian sea salt (or coarse sea salt) liberally over all sides of the pork, rubbing it firmly into the piercings and crevices. Wrap the meat tightly in plastic wrap and refrigerate for 4 to 12 hours. This acts as a dry brine, where the salt draws out moisture, dissolves into a brine, and is then reabsorbed into the muscle fibers, breaking down proteins for a more tender result and increasing moisture retention.
Why it matters
The dry brine period allows the salt to denature proteins, ensuring the pork remains juicy through the long 540-minute cook.
Common mistake
Using fine table salt instead of coarse sea salt, which can lead to an overly salty and chemically-tasting end product.
- 250°F45 min
Preheat your smoker to a steady 250°F using kiawe (mesquite) or guava wood to replicate traditional Hawaiian terroir. It is vital to wait for 'blue smoke'—a nearly invisible, translucent exhaust—before adding the meat. Heavy white smoke contains creosote, which will impart a bitter, acrid flavor to the pork. Ensure your water pan is full to maintain a humid environment, which helps smoke particles adhere to the meat surface.
Why it matters
A clean-burning fire ensures the smoky profile is sweet and aromatic rather than bitter and soot-like.
Common mistake
Putting meat in while the smoker is still producing thick, billowy white smoke.
- 250°F5h
Place the salted pork shoulder directly on the smoker grate with the fat side facing up. This orientation allows the rendering fat cap to baste the meat as it cooks. Monitor the pork until it reaches an internal temperature of 160°F to 165°F. You are looking for a 'mahogany bark'—a firm, dark exterior crust formed by the Maillard reaction and smoke condensation. This phase must be completed relatively quickly to move the meat through the 40-140°F food safety danger zone.
Why it matters
This phase builds the foundational flavor profile and ensures the meat spends minimal time in the bacterial growth temperature range.
Common mistake
Opening the lid frequently to 'peek,' which drops the temperature and stalls the bark formation.
- 165°F20 min
Once the pork hits 165°F and the bark is set, remove it from the grates. Lay out 7 ti leaves or banana leaves in an overlapping pattern and wrap the pork tightly; these leaves provide a subtle floral aroma and moisture essential for 'imu' style results. Once encased in leaves, seal the entire package in two layers of heavy-duty aluminum foil. This 'Texas Crutch' method traps steam, helping you power through the evaporation-induced 'stall' and accelerating the rendering of connective tissue.
Why it matters
Wrapping mimics the underground oven environment, trapping moisture and heat to tenderize tough collagen.
Common mistake
Wrapping too loosely, which allows steam to escape and slows down the cooking process.
- 205°F3h
Return the wrapped pork to the 250°F smoker. The goal is to reach an internal temperature of 203°F to 205°F. At this specific temperature range, the collagen has fully converted into gelatin. Use a probe or toothpick to test for doneness: it should slide into the meat with 'butter-like' resistance. The bone should feel loose and ready to pull away cleanly from the muscle.
Why it matters
The specific internal temperature of 203-205°F is the sweet spot where fat is fully rendered but the meat hasn't become mushy.
Common mistake
Relying purely on time rather than internal temperature and physical probe tenderness.
- 1h
Remove the foil-wrapped package and place it in an insulated cooler or a room-temperature oven for 60 minutes. Do not unwrap it yet. During this rest, the carryover heat finishes the rendering process, and the muscle fibers—which tightened during the cook—will relax and reabsorb the juices. This equilibrium is what creates the 'juicy' mouthfeel in superior Kalua pork.
Why it matters
Resting prevents the 'steam-off' effect where all internal moisture evaporates the second the meat is shredded.
Common mistake
Shredding the meat immediately after it comes off the smoker, leading to dry, stringy pork.
- 15 min
Carefully unwrap the pork, reserving every drop of the 'liquid gold' juices trapped in the foil and leaves. Shred the meat into long strands using two forks or high-heat gloves, discarding the bone and any unrendered fat chunks. Pour the reserved salty, smoky juices back over the shredded meat and toss. This re-incorporation of fat and brine is what defines the authentic, succulent Kalua flavor. Serve warm with steamed rice.
Why it matters
The foil juices contain the concentrated essence of the kiawe smoke and Hawaiian salt; discarding them loses the dish's soul.
Common mistake
Throwing away the accumulated juices in the foil before shredding the meat.
Sauce It
Free Guide
5 Techniques Competition Smokers Use That Home Cooks Don't
Join the Guild email list and we'll send you the free guide — the exact moves that separate backyard cooks from competition pitmasters.
Cooks & Reviews
Guild members can rate this recipe, log their cooks and share photos.
Sign in to continueMember reviews
No reviews yet — be the first to rate this cook.
Ask the Pitmaster about this recipe
Substitutions, scaling, technique, troubleshooting — get answers grounded in this cook.
Sign in to try the AI Pitmaster on Smoker Kalua Pork. New members get 3 free questions.
Sign in to tryComments(0)
Loading comments…