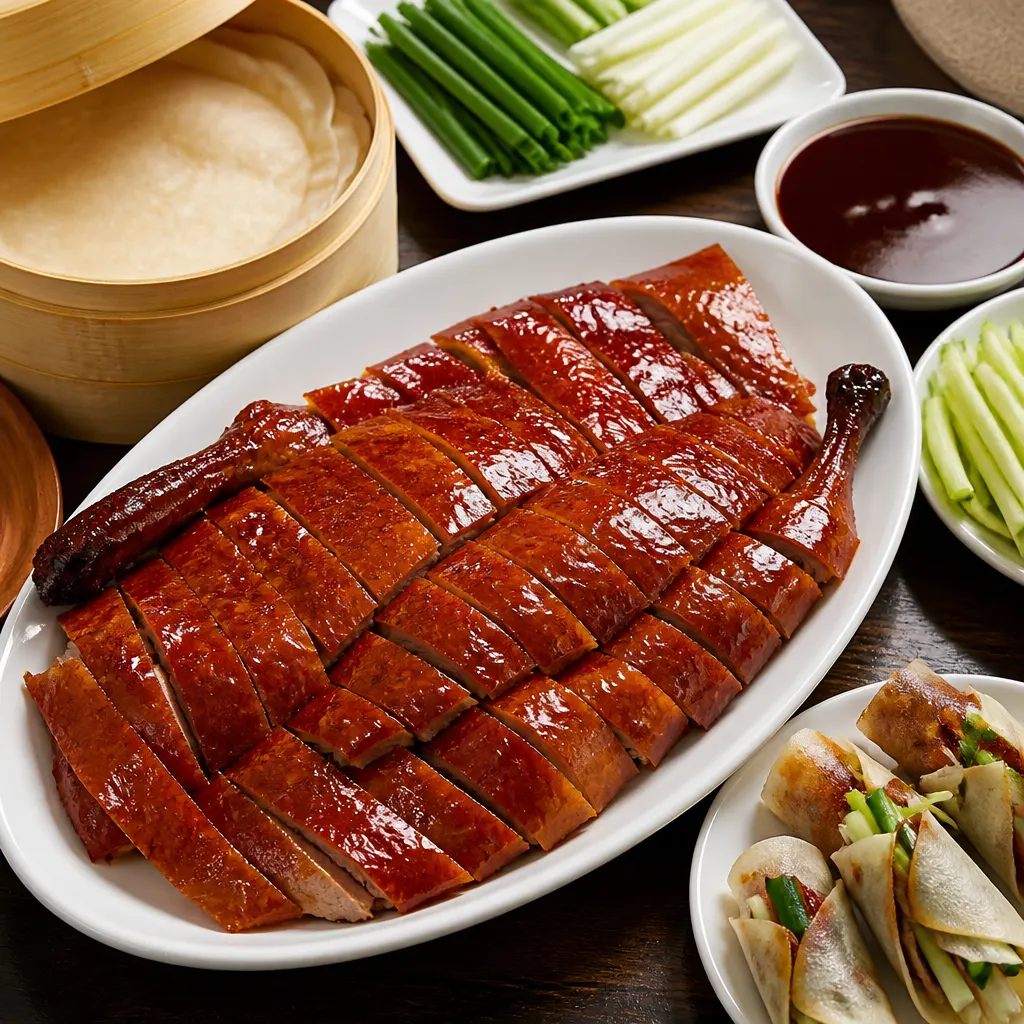
Smoked Peking-Style Duck
Peking duck is the emperor of Chinese roast birds, prized above all for its lacquer-crisp skin, traditionally served sliced with thin pancakes, scallion, cucumber, and sweet bean sauce. Authentic Peking duck is famously labor-intensive — separating the skin from the meat with air, scalding, glazing with maltose, and drying for a day or more. A smoker, with fruit wood (which the tradition actually uses), can produce a spectacular version. This is a true multi-day project for the dedicated cook.
Cook Mode
One step at a time, big text, timers, and your screen stays awake. 0/8 steps done.
Ingredients
Tap to tick off · 0/13 gathered
Method
- 20 min
Begin with a 5.5 lbs whole duck, ensuring the skin remains completely intact. Use your fingers or a dull utensil, starting at the neck, to carefully separate the skin from the breast and thigh meat without puncturing it. This air pocket is critical for fat rendering and achieving the lacquer-like finish. Rub the interior cavity with 1 tbsp salt and 1 tbsp five-spice, then stuff with 4 whole scallions and 4 ginger slices. Seasoning the interior ensures the meat is flavorful while the exterior remains a dedicated crisping surface.
Why it matters
Separating the skin creates a physical air gap that allows fat to render efficiently without boiling the meat.
Common mistake
Puncturing the skin, which allows juices to leak out and steam the exterior, preventing a crisp finish.
- 10 min
Place the duck on a wire rack over a large basin. Pour a full kettle (approx. 1 liter) of boiling water slowly over the entire surface of the bird. You will observe the skin immediately tighten, shrink, and turn translucent. This process 'sets' the skin proteins and jumpstarts the rendering of the thick subcutaneous fat layer. Ensure the water is truly at a rolling boil to effectively heat-shock the collagen in the skin.
Why it matters
Scalding tightens the skin and expands the pores, preparing the surface to better absorb the maltose glaze.
Common mistake
Using warm or tap-hot water instead of boiling water, which fails to tighten the skin properly.
- 15 min
Whisk together 0.25 cup maltose (or honey), 2 tbsp Shaoxing wine, 2 tbsp white vinegar, and 1 cup hot water until the maltose is fully dissolved and fluid. Brush this mixture generously over the scalded duck, ensuring every fold of skin is coated. Maltose is less sweet than honey and has a higher caramelization point, which provides the signature deep mahogany color and brittle, glass-like texture characteristic of authentic Peking duck.
Why it matters
The sugar-vinegar solution creates a thin, fermentable layer that browns and crisps through the Maillard reaction.
Common mistake
Missing spots under the wings or thighs, leading to pale, rubbery patches on the finished bird.
- 48h
Place the glazed duck on a wire rack set over a tray and refrigerate uncovered for 24 to 48 hours. This step is non-negotiable for food safety and texture; the steady airflow in the refrigerator dehydrates the skin until it feels like parchment paper or dry plastic. This low-moisture environment is essential to bypass the 'steam' phase in the smoker, allowing the skin to go directly to crisping. Ensure your fridge is below 40°F to stay out of the danger zone during this long air-cure.
Why it matters
A dry skin pellicle is the only way to achieve a shattering 'crunch' rather than a leathery bite.
Common mistake
Covering the bird or using a humid fridge, which prevents the skin from drying out.
- 300°F30 min
Preheat your smoker to 300°F using apple or cherry wood. These mild fruit woods provide a light, sweet smoke profile that complements the high fat content of the duck without overpowering it. Ensure the smoker is running clean with blue smoke before adding the bird. Set up for indirect cooking; if using a pellet grill, ensure the grease tray is clean to prevent fat fires, as duck renders significantly more grease than chicken.
Why it matters
Clean heat at a higher-than-usual smoking temp is required to render duck fat while taking on smoke flavor.
Common mistake
Smoking at too low a temperature (225°F), which results in rubbery, fatty skin.
- 300°F3h 30m
Place the duck breast-side up on the grates. Smoke for approximately 3 to 4 hours, or until the internal temperature in the thickest part of the thigh reaches 170°F. While 165°F is the safety standard, duck benefits from a slightly higher finish to ensure the connective tissue in the legs is fully tender. Watch for the skin to turn a dark, polished mahogany. If the wing tips darken too quickly, wrap them in small pieces of foil.
Why it matters
The 300°F environment allows the fat to liquefy and 'fry' the skin from the inside out as it renders.
Common mistake
Opening the lid too often, which drops the temperature and halts the rendering process.
- 175°F20 min
Remove the duck from the smoker and let it rest undisturbed on a wire rack for 15 to 20 minutes. Do not tent with foil, as the trapped steam will immediately soften the crisp skin you worked 48 hours to achieve. This rest allows the internal juices to redistribute and the rendered fat to finish dripping away. The internal temperature will carry over slightly, ensuring any remaining pinkness in the joints is resolved safely.
Why it matters
Resting prevents the juices from purging during carving, keeping the meat succulent and the skin dry.
Common mistake
Tenting with foil, which turns the crisp skin soggy in minutes.
- 10 min
Using a very sharp knife, shave the crisp skin off in thin shingles first, then slice the meat. Steam 1 stack of Mandarin pancakes until pliable. To serve, spread 0.5 cup sweet bean sauce or hoisin on a pancake, add a layer of duck skin and meat, and top with julienned scallions and cucumber. Roll tightly. The contrast between the hot, shattering skin, succulent meat, and cold, fresh vegetables is the hallmark of the dish.
Why it matters
Proper carving technique ensures every guest gets a portion of the prized skin and the juicy meat.
Common mistake
Using a dull knife, which tears the skin away from the meat rather than slicing cleanly.
6 more steps locked
You've seen the ingredients and the first two steps. Pit Members get every step, every temp, every glaze — plus the Cook Monitor and Pitmaster AI.
See Membership OptionsAlready a member? Sign in.
Sauce It
Cooks & Reviews
Guild members can rate this recipe, log their cooks and share photos.
Sign in to continueMember reviews
No reviews yet — be the first to rate this cook.
Ask the Pitmaster about this recipe
Substitutions, scaling, technique, troubleshooting — get answers grounded in this cook.
Sign in to try the AI Pitmaster on Smoked Peking-Style Duck. New members get 3 free questions.
Sign in to tryComments(0)
Loading comments…