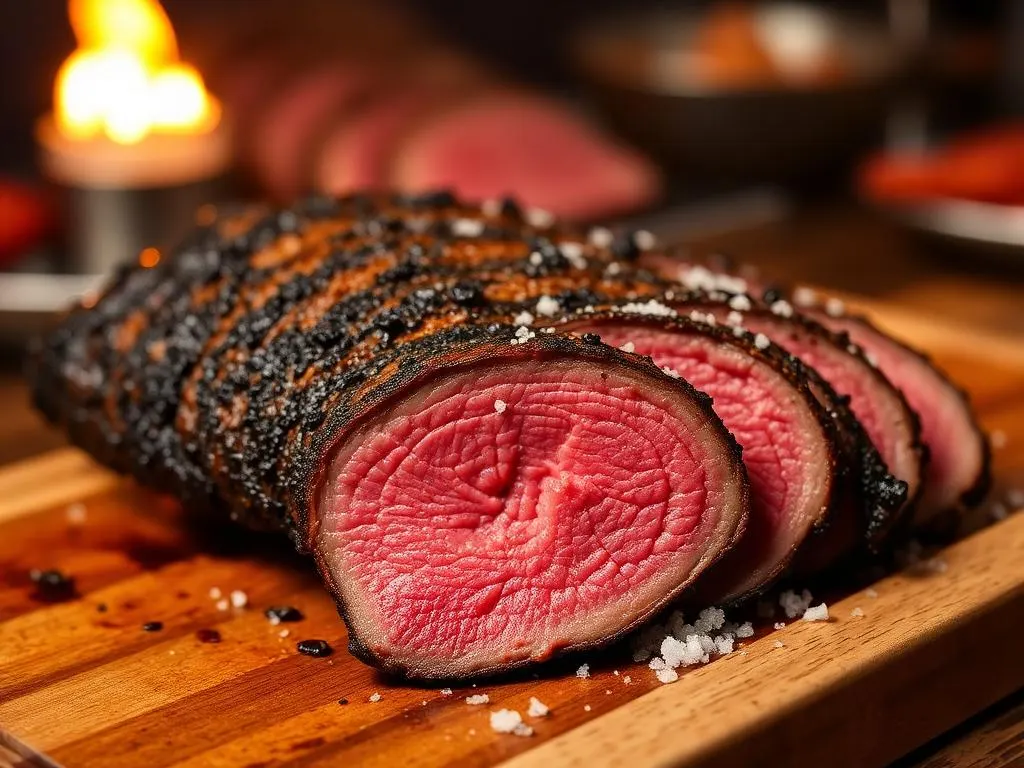
Smoked Maminha — Brazilian Tri-Tip
Maminha is the tri-tip, tender and lean and a favorite on the churrasco skewer. It takes a light smoke beautifully and the reverse sear gives you an edge-to-edge pink center. Simple salt, simple fire, great beef.
Cook Mode
One step at a time, big text, timers, and your screen stays awake. 0/6 steps done.
Ingredients
Tap to tick off · 0/2 gathered
- — MAIN —
Method
- 40 min
Begin by applying 2.0 tbsp of coarse rock salt (sal grosso) generously over all surfaces of the 2.25 lbs maminha. This traditional Brazilian approach acts as a dry brine, drawing out surface moisture which then dissolves the salt and re-enters the muscle fibers through osmosis. This process must be done at least 40 minutes prior to cooking but ideally up to 24 hours in the refrigerator to maximize protein denaturing and moisture retention during the smoke. If refrigerating, leave the meat uncovered on a wire rack to allow the surface to dry out for a better crust later.
Why it matters
The brine equilibrates moisture and seasons through the flesh; skipping it gives you dry, bland beef.
Common mistake
Using fine table salt instead of coarse rock salt, which can over-salt the meat due to higher density.
- 250°F20 min
Preheat your smoker to a steady 250°F using oak wood chunks or logs to provide a clean, medium-strength smoke. Use the back of a knife to gently knock off any large, undissolved salt crystals from the surface of the meat before placing it on the grate. Insert a digital leave-in probe thermometer into the thickest part of the tri-tip, ensuring the tip is not touching fat or gristle, to monitor the progress through the sensitive 40-140°F danger zone.
Why it matters
A stable low-temperature environment prevents the outer layers from overcooking while the center reaches the target temperature.
Common mistake
Neglecting to remove excess large salt rocks, which results in unpleasant, overly salty bites.
- 115°F1h
Place the maminha on the indirect side of the smoker, away from the heat source. Close the lid and maintain 250°F until the internal temperature of the beef reaches exactly 115°F for a medium-rare finish. This low-heat phase ensures the meat cooks evenly from edge-to-edge with no gray band of overcooked meat. The oak smoke will deposit phenolic compounds onto the surface, beginning the development of the mahogany bark.
Why it matters
Smoking to a specific internal temp before searing creates a uniform pink center that traditional grilling cannot achieve.
Common mistake
Opening the lid too often, which causes temperature fluctuations and extends the time in the bacterial danger zone.
- 130°F5 min
Once the internal temp hits 115°F, remove the meat and immediately crank your heat source to 600°F or higher. Sear the maminha for 60 to 90 seconds per side directly over the flames to trigger the Maillard reaction. This creates the characteristic savory crust (the 'bark') on the exterior. Monitor the meat closely as the fat cap on the tri-tip can cause flare-ups; move the meat to the indirect side if the flames become too aggressive.
Why it matters
The high-heat sear provides essential texture and complex savory flavors without overcooking the perfectly tempered interior.
Common mistake
Searing for too long, which overshoots the internal target and creates a thick, rubbery overcooked ring.
- 135°F15 min
Transfer the seared maminha to a cutting board and let it rest undisturbed for 10 to 15 minutes. During this time, the internal temperature will rise about 5°F due to carryover heat, settling at a final 130-135°F for medium-rare. More importantly, the muscle fibers relax and reabsorb the juices that were pressurized during the sear. If you skip this, the juice will run onto the board, and the meat will be dry.
Why it matters
Resting allows the internal pressure to stabilize so the juices stay inside the muscle fibers upon slicing.
Common mistake
Tenting too tightly with foil, which steams the crust and turns the crisp exterior soft.
- 5 min
Identify the grain direction, noting that tri-tip grain changes roughly 45 degrees at the center 'elbow.' Slice against the grain into thin strips. If the meat feels chewy, it is likely because you are slicing parallel to the fibers rather than perpendicular to them. Slicing against the grain physically shortens the muscle fibers, making even leaner cuts like maminha feel buttery and tender on the palate.
Why it matters
Correct slicing technique is the final step in ensuring the meat is tender rather than stringy or tough.
Common mistake
Slicing the entire roast in one direction, ignoring the natural shift in muscle fiber orientation.
Sauce It
Cooks & Reviews
Guild members can rate this recipe, log their cooks and share photos.
Sign in to continueMember reviews
No reviews yet — be the first to rate this cook.
Ask the Pitmaster about this recipe
Substitutions, scaling, technique, troubleshooting — get answers grounded in this cook.
Sign in to try the AI Pitmaster on Smoked Maminha — Brazilian Tri-Tip. New members get 3 free questions.
Sign in to tryComments(0)
Loading comments…