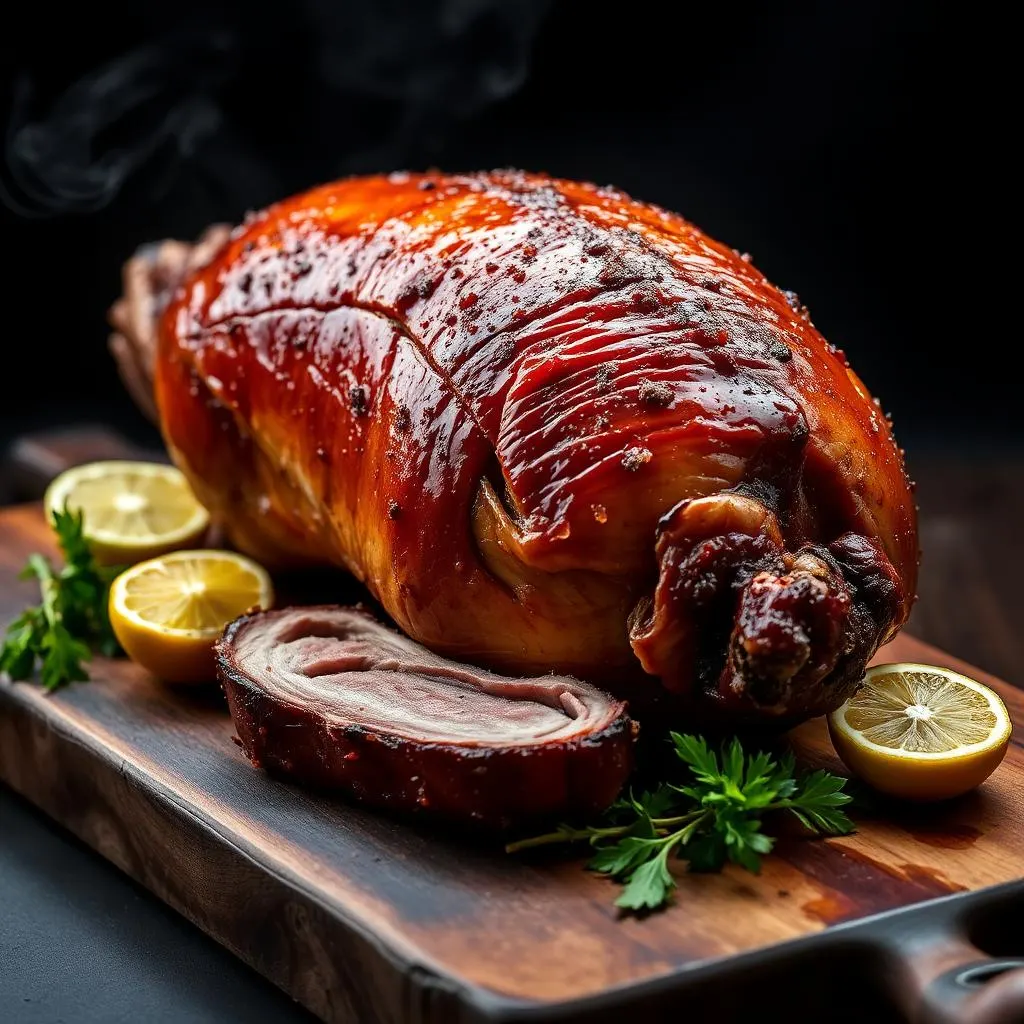
Cuban Mojo-Injected Whole Smoked Lechón
The centerpiece. A whole suckling pig mojo-injected to the bone, smoked until the skin turns to glass and the meat falls apart. A full-day production that demands a big rig and a plan.
Cook Mode
One step at a time, big text, timers, and your screen stays awake. 0/9 steps done.
Ingredients
Tap to tick off · 0/9 gathered
- — MAIN —
- — MOJO INJECTION & MARINADE —
Method
- 20 min
Create the mojo base by blending 3 cups sour orange juice, 2 heads of garlic, 3 tbsp oregano, 2 tbsp cumin, 1 bunch of cilantro, 0.25 cup salt, and 2 tbsp pepper with 2 cups olive oil until smooth. Using a fine-mesh strainer, separate 3 cups of liquid for the injection and set aside the remaining thick solids for internal mopping later. Straining is critical to prevent the small garlic and herb particles from clogging the injection needle, ensuring a smooth, pressurized delivery into the dense muscle fibers.
Why it matters
Straining prevents needle clogs and ensures the injection fluid can penetrate deep into the hams and shoulders.
Common mistake
Using unstrained marinade which leads to uneven distribution and constant needle blockages.
- 45 min
Using a competition-style injector, pump the 3 cups of strained mojo into the hams, shoulders, and along the loins of the 30 lb pig. Insert the needle in a grid pattern every 1.5 inches, depressing the plunger slowly as you withdraw the needle to distribute the citrus and salt evenly through the meat. Aim to increase the weight of the pig by roughly 10% to ensure internal seasoning and moisture retention during the 10-hour cook.
Why it matters
Deep injection bypasses the protective skin barrier, seasonng the interior muscle that rubs cannot reach.
Common mistake
Injecting into only a few spots, creating 'flavor pockets' rather than uniform seasoning.
- 40°F24h
Apply the remaining mojo solids to the inside of the cavity, then pat the exterior skin completely dry with paper towels. Place the pig in a refrigerated environment (or a large insulated cooler with ice) for 24 hours. Cold air flow will help the skin dry out, which is the essential first step for achieving structural rigidity and the 'glass-like' chicharrón texture later in the process.
Why it matters
The 24-hour salt and acid cure tenderizes the pork and prepares the skin's cellular structure for crisping.
Common mistake
Leaving the skin wet or oily, which results in rubbery, chewy skin rather than crisp crackling.
- 1h
Remove the pig from refrigeration one hour before smoking to take the chill off the surface. Set up a fan to blow across the pig's skin; this promotes the formation of a pellicle—a slightly tacky surface layer. While more common on fish, a dry pellicle on a whole hog ensures that the smoke particles adhere cleanly to the surface without creating a soot-heavy or bitter creosote buildup.
Why it matters
A dry, tacky surface allows smoke to bond properly and prevents steam from softening the skin.
Common mistake
Putting a cold, sweating pig directly into the smoker, which leads to gray, soot-stained meat.
- 250°F30 min
Stabilize your smoker at 250°F using oak for heat and citrus wood for aromatic smoke. Lay the pig skin-side up on the grate; this 'races' the heat through the cavity to cook the thickest parts of the hams. Wrap the ears, tail, and snout in heavy-duty aluminum foil to prevent these thin, high-fat areas from scorching and turning bitter during the long exposure to convective heat.
Why it matters
Proper positioning and protection of extremities maintain the visual integrity required for competition-grade whole hogs.
Common mistake
Neglecting to foil the ears, which will burn to ash long before the hams are cooked.
- 250°F8h
Smoke at a steady 250°F, monitoring the fire closely to avoid temperature spikes. Every 90 minutes, mop the interior cavity with any leftover mojo marinade to keep the ribs and tenderloin moist. Crucially, do not mop or spray the exterior skin—moisture is the enemy of the crisping process. The goal is to move the pig through the 40-140°F danger zone as efficiently as possible while maintaining a clean, thin blue smoke.
Why it matters
Maintaining a dry exterior while hydrating the interior creates the perfect contrast of crispy skin and succulent meat.
Common mistake
Opening the pit too often, which drops the temperature and extends the cook time into the 'danger zone'.
- 205°F2h
As the internal temperature reaches 160-170°F, the pig will enter the 'stall' where evaporative cooling slows cooking. Do not wrap the pig in foil, as this will steam the skin. Continue cooking until the thickest part of the ham and shoulder reach 195°F to 205°F. At this temperature, the collagen has fully converted into gelatin, and the connective tissues will have melted, allowing the meat to be easily pulled.
Why it matters
Pushing past 195°F is necessary to break down the tough connective tissue in a mature pig or large suckling.
Common mistake
Pulling the pig at 165°F (food safe temp) but before the collagen has converted, resulting in 'tough' meat.
- 45 min
Remove the pig from the smoker carefully using heat-resistant gloves. Allow it to rest uncovered for at least 45 minutes. During this time, carryover cooking will finish the tenderization process, and the muscle fibers will relax and reabsorb the rendered fats and mojo juices. High-mass cooks like a 30 lb pig require this rest to prevent the juices from immediately purging when the first cut is made.
Why it matters
A proper rest ensures the meat remains juicy and the internal temperature stabilizes across the carcass.
Common mistake
Cutting into the pig immediately, causing the internal juices to run out and leaving the meat dry.
- 30 min
For a final showpiece finish, you may use a propane torch to quickly blister any stubborn patches of skin until they are rigid and glassy. Use a heavy knife to crack the skin into chicharrón shards, then pull the mojo-infused meat from the hams and shoulders. Serve approximately 1 lb of meat per person, ensuring every plate gets a piece of the crispy skin and a splash of fresh sour orange juice for acidity.
Why it matters
The contrast between the acidic, tender meat and the salty, shattered skin is the hallmark of a master lechón.
Common mistake
Mixing the crispy skin back into the moist meat too early, which makes the skin soggy before it reaches the guest.
7 more steps locked
You've seen the ingredients and the first two steps. Pit Members get every step, every temp, every glaze — plus the Cook Monitor and Pitmaster AI.
See Membership OptionsAlready a member? Sign in.
Sauce It
Cooks & Reviews
Guild members can rate this recipe, log their cooks and share photos.
Sign in to continueMember reviews
No reviews yet — be the first to rate this cook.
Ask the Pitmaster about this recipe
Substitutions, scaling, technique, troubleshooting — get answers grounded in this cook.
Sign in to try the AI Pitmaster on Cuban Mojo-Injected Whole Smoked Lechón. New members get 3 free questions.
Sign in to tryComments(0)
Loading comments…