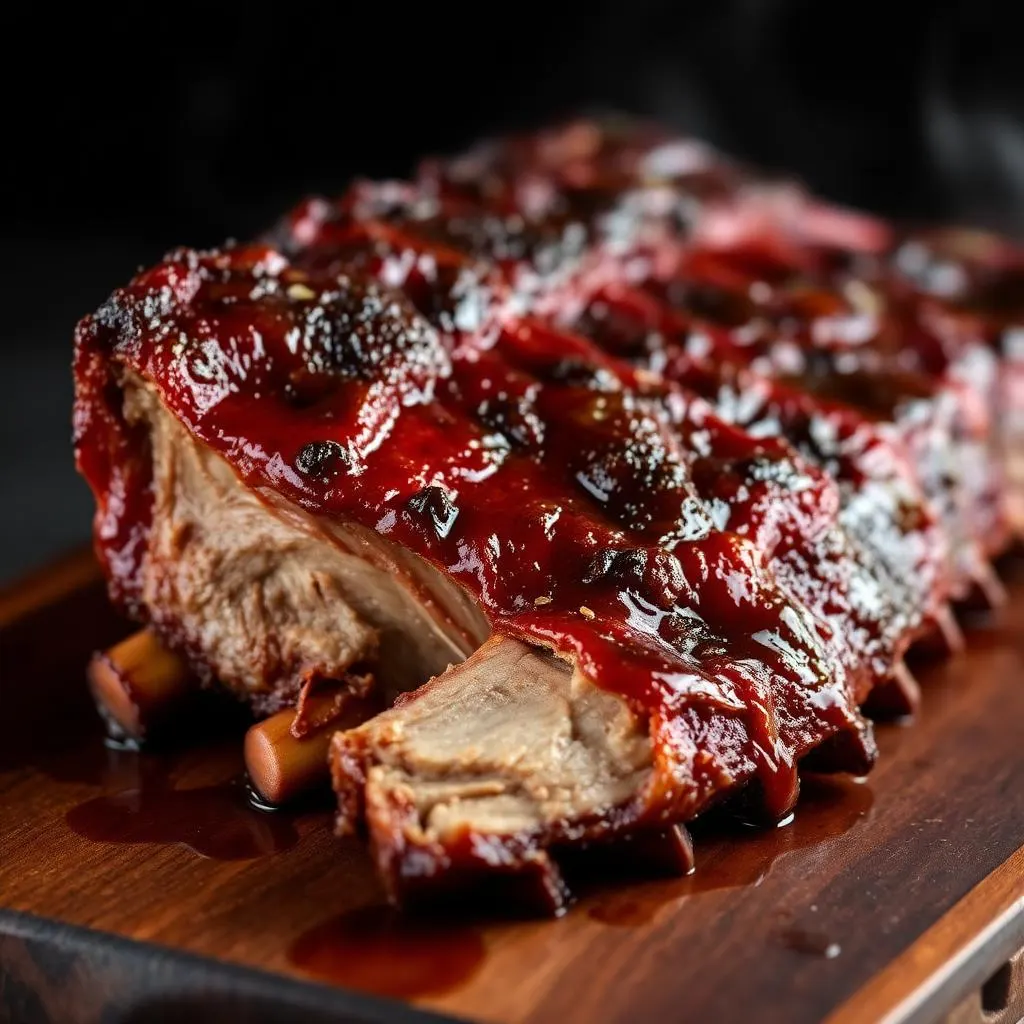
Caribbean Rum & Brown Sugar Glazed Ribs
Wrap method plus a clock means you literally can't fail. Sticky, glossy, dark-rum-and-brown-sugar lacquered baby backs with a whisper of scotch bonnet.
Cook Mode
One step at a time, big text, timers, and your screen stays awake. 0/8 steps done.
Ingredients
Tap to tick off · 0/13 gathered
- — MAIN —
- — DRY RUB —
- — RUM GLAZE —
Method
- 15 min
Begin by removing the silver-skin membrane from the bone side of the 2 racks of baby back ribs; use a butter knife to lift the edge and a paper towel for grip to pull it away cleanly. If left intact, the membrane prevents smoke penetration and becomes leathery after cooking. Once the membrane is gone, square up the edges of the racks for uniform cooking and appearance. This ensures every bite meets the KCBS standard for visual appeal and even heat distribution.
Why it matters
Removing the membrane ensures the dry rub and smoke can actually penetrate the meat from both sides.
Common mistake
Leaving the membrane on, which creates a rubbery texture that makes the ribs difficult to eat.
- 30 min
Mix 2 tbsp brown sugar, 1 tbsp paprika, 1 tbsp ground allspice, 1 tsp garlic powder, 1 tsp salt, 1 tsp black pepper, and 0.5 tsp cayenne until well combined. Apply this rub generously to both sides of the ribs, letting it sweated in for at least 30 minutes before hitting the smoker. The allspice and cayenne provide the foundational heat and aromatics essential for an authentic Caribbean profile. Ensure an even coating to provide a consistent surface for bark formation.
Why it matters
The seasoning needs time to bond with the meat's moisture to prevent the rub from blowing off in the smoker's convection current.
Common mistake
Applying rub unevenly, which leads to splotchy bark and inconsistent flavor across the rack.
- 250°F15 min
Preheat your pellet smoker to 250°F using apple or cherry wood for a sweet, mild smoke that won't overpower the pork or the delicate rum glaze. Place the ribs bone-side down on the grate with at least two inches of space between the racks to allow air and smoke to circulate freely. Check the wind direction to ensure your exhaust is pulling smoke smoothly across the meat, as stagnant smoke can lead to a bitter creosote flavor.
Why it matters
Steady airflow at 250°F is critical for rendering the fat cap while building the initial mahogany color.
Common mistake
Crowding the smoker, which blocks airflow and results in unevenly cooked, 'steamed' meat rather than smoked meat.
- 250°F2h
Smoke the ribs unwrapped for 120 minutes. During this phase, the surface moisture evaporates and the sugar in the rub begins to caramelize, creating the 'bark' or outer crust. Do not open the lid during this phase; maintaining a consistent 250°F is vital for moving the meat safely through the 40-140°F danger zone. Visual cue: The ribs are ready for the next phase when the meat has started to pull back about 1/4 inch from the tips of the bones.
Why it matters
Bark is the foundation of competition BBQ flavor; it provides the texture contrast against the tender interior.
Common mistake
Opening the lid frequently to 'peek,' which drops the temperature and extends the cook time significantly.
- 15 min
While the ribs smoke, combine 0.5 cup dark rum, 0.5 cup brown sugar, 0.25 cup ketchup, 2 tbsp lime juice, 1 tbsp Worcestershire, and the minced scotch bonnet in a small saucepan. Simmer over medium-low heat for about 10 minutes until the mixture reduces into a thick, syrupy glaze that coats the back of a spoon. Be cautious with the scotch bonnet; it provides the 'whisper' of heat, but the seeds will significantly increase the spice level. This reduction concentrates the sugars for a professional-grade lacquer.
Why it matters
Reducing the glaze ensures it sticks to the meat rather than running off into the bottom of the smoker.
Common mistake
Burning the glaze by using too much heat; the high sugar content can scorch and turn bitter quickly.
- 250°F2h
Place each rack on a heavy-duty sheet of aluminum foil. Add a splash of dark rum to the foil and wrap tightly, ensuring there are no leaks. This creates a braising environment that accelerates the breakdown of collagen and connective tissue without further darkening the bark. Return the wrapped ribs to the 250°F smoker for another 120 minutes. The foil 'crutch' is a essential technique used by pitmasters to push through the stall and guarantee tenderness.
Why it matters
The wrap phase ensures the ribs reach the perfect tenderness without drying out from prolonged air exposure.
Common mistake
Wrapping too loosely, which allows steam to escape and fails to properly tenderize the meat.
- 203°F1h
Carefully unwrap the ribs, discarding the liquid, and place them back on the grates. Brush a heavy layer of the reduced rum glaze over the top surface. Smoke for a final 60 minutes or until the glaze has become tacky and set. To test for doneness, perform the 'bend test': pick up the rack with tongs from one end; if the bark cracks cleanly as the rack bends, they are ready. The ideal internal temperature for baby backs is typically between 198°F and 203°F.
Why it matters
This final hour sets the glaze into a glossy, professional finish that won't rub off when sliced.
Common mistake
Overcooking to the point where the meat falls off the bone; a perfect rib should have a clean 'bite-through' with slight resistance.
- 15 min
Remove the ribs from the smoker and let them rest on a cutting board for at least 15 minutes before slicing. Resting allows the internal juices to redistribute, ensuring the meat doesn't dry out the moment you cut it. To slice, flip the rack bone-side up so you can see the direction of the bones. Use a long, sharp knife to cut through the center between each bone in a single, clean stroke to maintain the uniformity required for a KCBS-style turn-in box.
Why it matters
Resting is the difference between a juicy rib and a dry one; carryover cooking finishes the tenderization process.
Common mistake
Slicing immediately, which causes the internal moisture to purge and leaves the meat tough.
Sauce It
Cooks & Reviews
Guild members can rate this recipe, log their cooks and share photos.
Sign in to continueMember reviews
No reviews yet — be the first to rate this cook.
Ask the Pitmaster about this recipe
Substitutions, scaling, technique, troubleshooting — get answers grounded in this cook.
Sign in to try the AI Pitmaster on Caribbean Rum & Brown Sugar Glazed Ribs. New members get 3 free questions.
Sign in to tryComments(0)
Loading comments…